VAN BUILDS

VAN BUILDS

A collection of our past van builds.

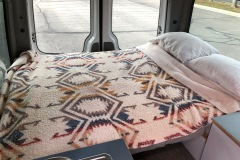
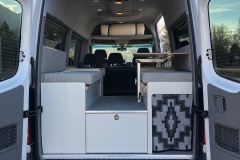
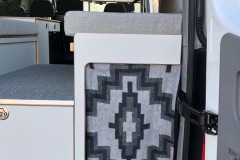
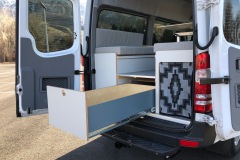
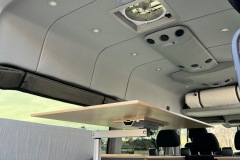
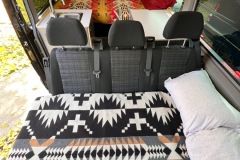
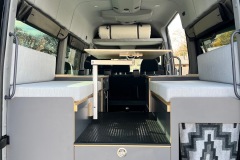
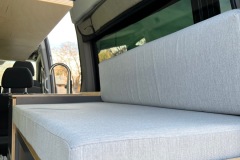
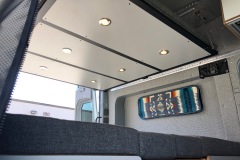
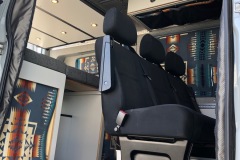
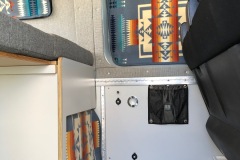
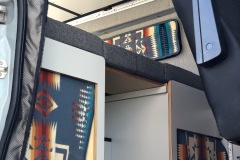
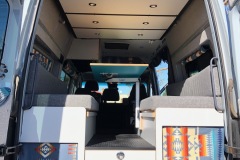
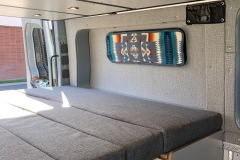
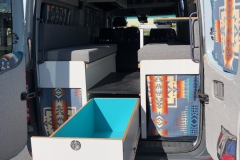
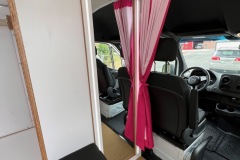
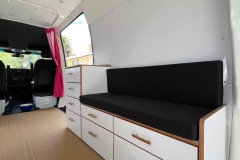
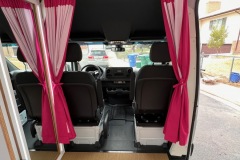
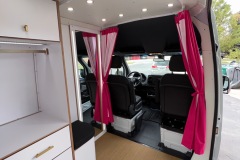
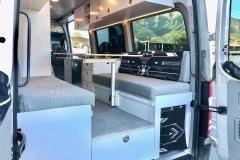
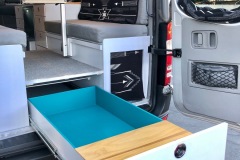
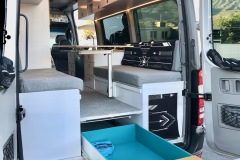
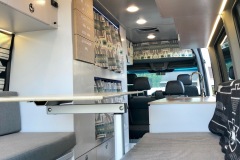
FAMILY WEEKEND EXPLORER PACKAGE

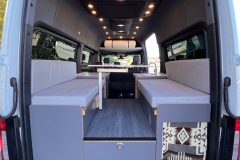
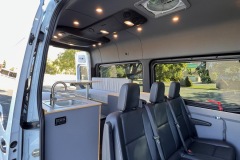
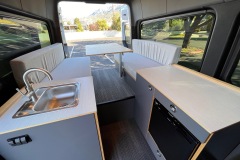
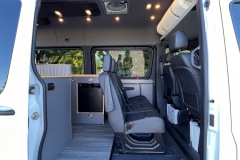
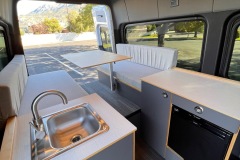
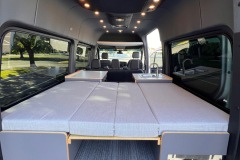
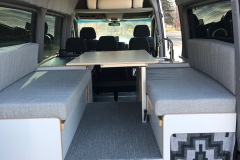
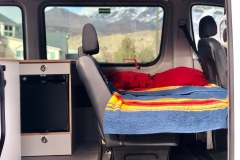
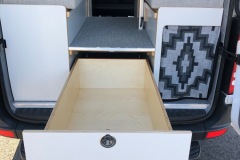
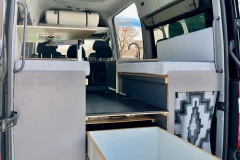
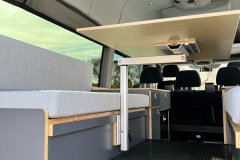
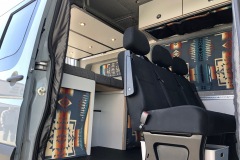
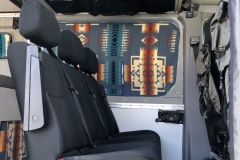
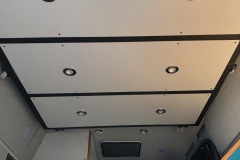
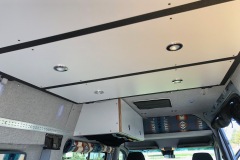
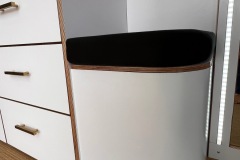
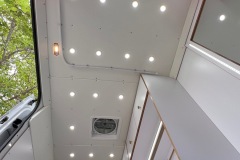
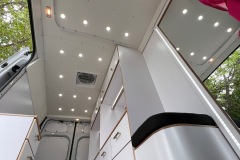
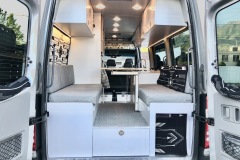
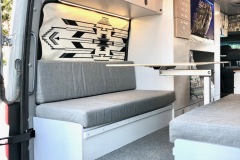
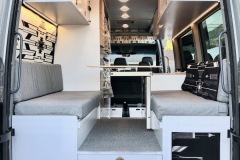
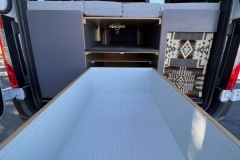
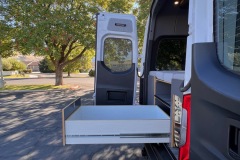
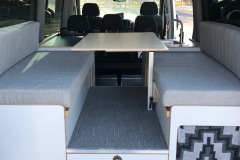
Designed for a family of 4-5. Daily driver during the week while exploring on the weekends. It takes us about 4- 6 weeks to complete this build.

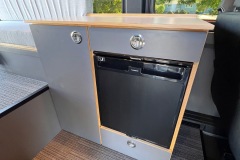
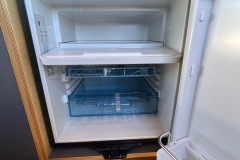
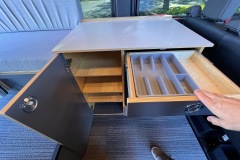
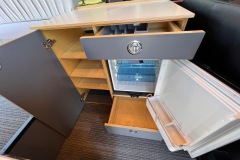
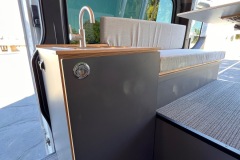
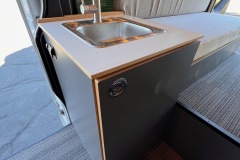
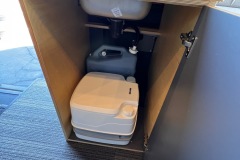
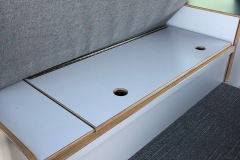
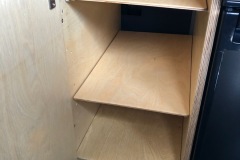
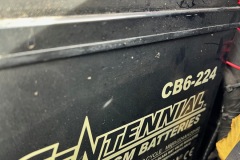
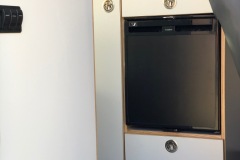
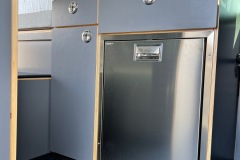
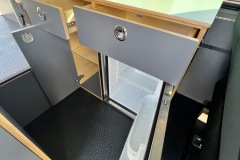
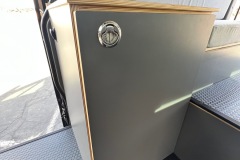
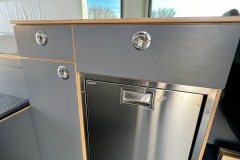
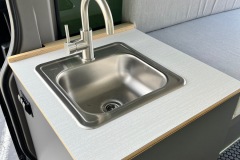
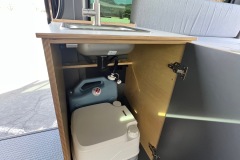
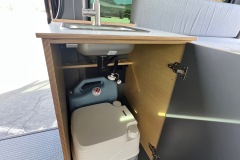
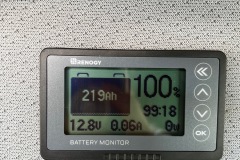
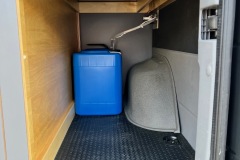
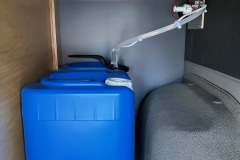
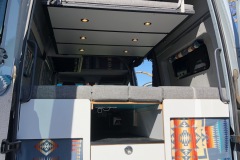
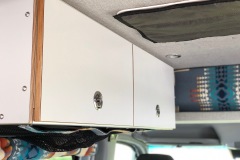
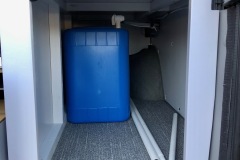
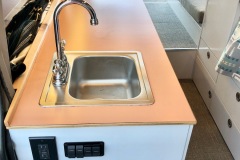
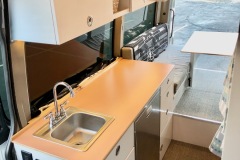
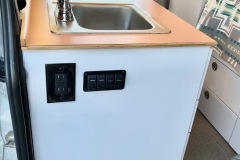
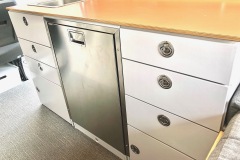
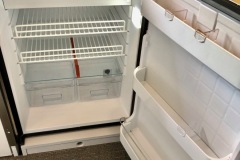
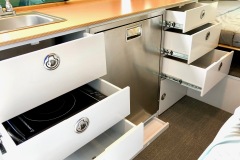
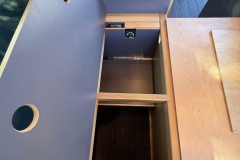
  • Galley – Fridge, Freezer, Sink, Toilet, Cabinets
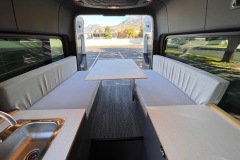
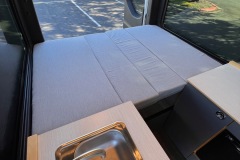
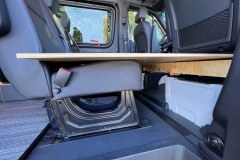
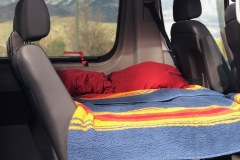
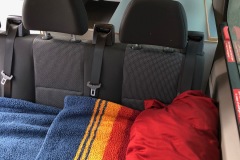
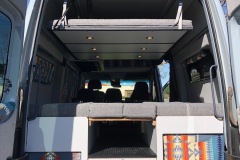
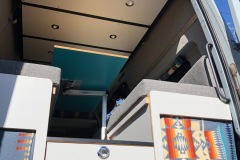
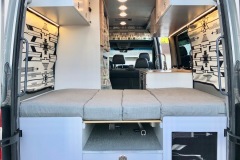
  • Dinette / Full Size Bed
  • Kids Bed
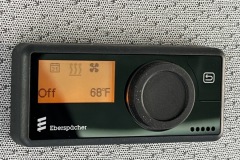
  • Diesel Heater
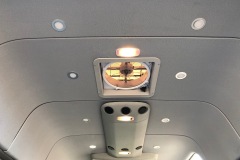
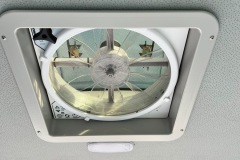
  • Maxx Air Fan
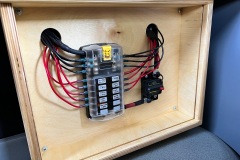
  • Electrical – Battery, USB’s, 12v
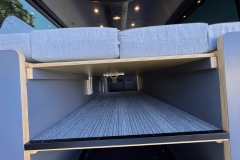
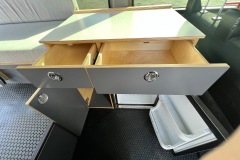
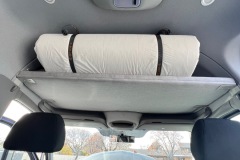
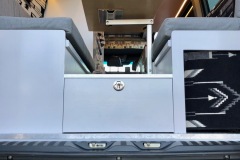
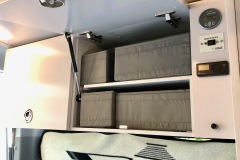
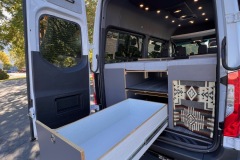
  • Storage / Gear Drawer/ Overhead shelf
  • Insulation
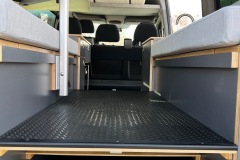
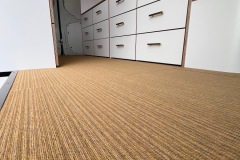
  • Carpeted Flooring & Powder Coated Trim
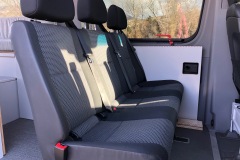
  • 3 Seater Bench Seat included with Passenger Van
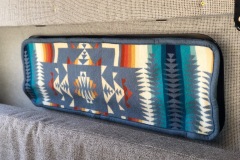
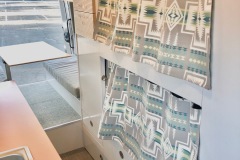
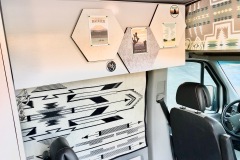
  • Customizations: Choose your laminate colors & cushions

— If you would like to know more about our VAN BUILD PACKAGES click here.

WEEKEND EXPLORER PACKAGE + SOLAR

WEEKEND EXPLORER PACKAGE

WEEKEND EXPLORER PACKAGE – UPGRADED FLOORING

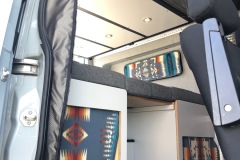
CUSTOM BUILD – KIDS DROP DOWN BED

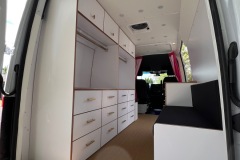
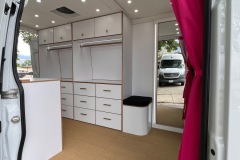
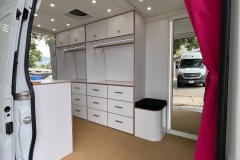
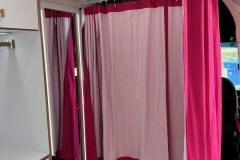
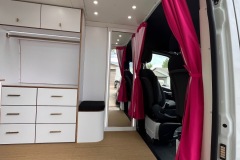
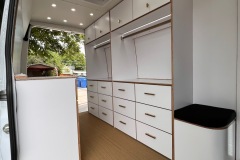
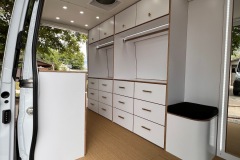
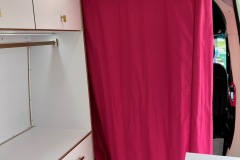
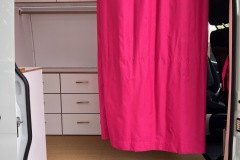
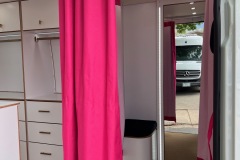
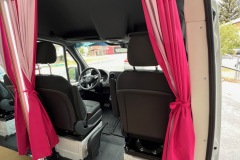
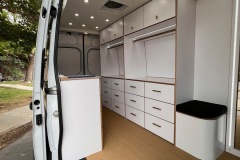
CLOTHES SHOP WITH DRESSING ROOM

FAMILY OVERLANDER VAN WITH BUNK BEDS

RUSTY: 2008 Dodge / Mercedes Sprinter Van- 144 low roof, 2500 diesel

BEFORE & AFTER


EL GATO GORDO: 2008 Dodge / Mercedes Sprinter Van- 170 high roof, 2500 diesel

BEFORE & AFTER

RECENT POSTS:

GET THE GEAR… CHEAPLY.

GET THE GEAR… CHEAPLY.

Gear. This is a passion of mine. I love to read about, purchase, use, and sell camping gear. It used to be an obsession at one point and Keri has helped me to take a step back and realize that 6 tents and a dozen sleeping bags is too much for a family of 4. In my quest to make sure that I had the right tent for potentially a last minute trip to Everest or a stove that will never blow out in the winds of Patagonia I’ve figured out how to get the highest quality gear at the lowest price possible. Here are some tips to finding great deals on used and new gear.

First you need to decide if used gear works for you. If it does, you can save a whole lot of money. In years past I bought only new gear, until it dawned on me, with Keri’s help, that I’m buying things to use in the dirt, so who cares if it has someone else’s dirt on it. She’s a genius that woman. When you’re starting out I recommend buying used, but if you are looking for more specialized equipment that is not so common new might be the only option. 

Camping isn’t for everyone and that’s great news for anyone who does enjoy it. Time and again I’ve bought gear that someone purchased for a trip and only used it for a weekend. People decide it’s not their thing and you can score some amazing deals on like new items. Scour your local craigslist, Facebook Marketplace and eBay.

REI

If you’re not a member of REI, I’d recommend becoming one. They have everything imaginable needed to get outside. By becoming a member you’ll get a 20% coupon for regular priced and outlet items a couple times a year, which is nice. The real benefit to me is access to the member’s only garage sales. Our local store probably has 3-4 a year and you can score some great deals. REI has a generous return policy and everything that has been brought back, but can not be sold as new will be offered to member’s there. Some of the things you will see are super hammered and are not worth your time, but if you know what you’re looking for, amazing deals can be had. Also, sign up for their email list as they have periodic sales in there Outlet where you can get really good deals. 

GEARTRADE.COM

One of my favorite websites is geartrade.com. This is a site where people can unload new and used gear. I’ve had over 25 purchases there and gotten some super cheap things. Almost everything I’ve purchased has come from one seller: Backcountry. That’s right, Backcountry.com. They have an account and post new items every weekday. Because Backcountry has a return policy similar to REI they receive all sorts of returns. Some returns get listed on their eBay page and some on their Geartrade account. I’ve bought Western Mountaineering sleeping bags that never go sale for 40% off because they were missing tags or a MSR tent 50% off because it didn’t have stakes. Another cool thing is that Backcountry offers free shipping. They also list a lot of apparel and shoes. When looking for things this is the first place I go. 

LOCAL THRIFT STORES

A great place for outdoor clothing and gear is your local thrift stores. I can usually find an old Coleman stove, dishes, silverware, and a Nalgene water bottle without breaking a sweat. There are tons of treasure to be found in the clothing areas as well. Keri likes to hike in Patagonia tights and they run like $80, but she has thrift store tights that work just as well for $5. Synthetic hiking shirts can be expensive, but a shirt from some random marathon you didn’t run will suffice for $3 bucks. Getting kids clothes for camping here is a great idea because you know they don’t think twice about sliding down that rocky hill on their butt or playing in the mud and getting covered. You’ll feel a lot better about it when you know those shorts were $3 and the shirt was $2. Another tip is to get a cheap fleece for sitting around the fire. I’ve burnt a few holes in expensive jackets from flying embers and it really bummed me out. I don’t feel too bad about a thrift store jacket getting singed. 

PURCHASE USED ITEMS

One of my favorite tips for used gear is not be afraid to buy a tent that might have a hole in the rain fly and a broken pole or a sleeping pad that has a small hole in it. These things will happen anyway as you start to use them more. By learning how to repair things you’ll be ready when it occurs again in the future. Down jackets are expensive and they tend to be somewhat fragile. It’s easy to get a rip or tear and many people don’t know how or don’t want to learn how to fix them and will list them cheaply on eBay or donate them to goodwill. There are a lot of videos on youtube that will outline how to fix anything. It’s really not that hard and the savings can be intense. By doing this you’ll save some things from the landfill and that feels good.

When it comes to buying new gear at a discount I like to look at a few different websites:

Steepandcheap.com – They have a lot of last season and discontinued styles. 30-50% off retail is the norm.

Sierratradingpost.com – Similar to Steepandcheap as they also have a lot of last season and discontinued styles. 30-50% off retail is the norm.

TheClymb.com – They have sales on featured brands for a week or two and then another brand will be featured. 30-70% off retail.

REI-Outlet.com – Some deals can be had on all sorts of outdoor gear. They also have daily deals.

Amazon.com – They have everything that is offered at all of these other websites and more. One thing that they offer is cheap chinese knockoffs of high end gear. You can get a backpacking chair at REI for $100 or an exact replica by some unheard of brand for $40. They have a chinese knockoff of every piece of gear you could imagine. The quality might not be the same so be cautious and read the reviews carefully.

I’ve seen some decent deals on things at Costco like coolers and trekking poles. If you see it in store, buy it. They change their inventory constantly and it might not be there next time. They also have gear on their website.

OUTDOOR RETAILERS

Lastly, if you happen to work in the outdoor industry or have a job that requires you spend a lot of time in the outdoors you might be able to qualify for special discounts from different manufacturers. Check out expertvoice.com and outdoorprolink.com to see if you qualify.

I’m sure I missed some great places to get gear, so don’t be afraid to reach out and let me know some of your favorites places to shop and tips to save some cash.

-SCOTT

RECENT POSTS:

SLEEPING PADS

SLEEPING PADS

When Keri and I first started camping, she would be having a great time until we crawled into the tent to sleep. The party was over. She would toss and turn throughout the night and just could not get into a deep sleep. This really bummed me out because I felt like I had let her down. I was the gear guy. If something didn’t work I had not done my research properly. I set off to make sure that every night moving forward she would sleep like a baby in a kid carrier. That’s a weird way to put it, but if you’ve ever carried a child on an extended hike through nap time, you know what I’m talking about.  I set to work and over the years have tried most major brands and different styles of construction and materials. I think we’ve settled on two sleeping pads that have ticked as many possible boxes for us and we’ve been sleeping soundly for years.

Our family backpacks and car camps, so we found it works best for us to each have two sleeping pads.

The car camping pad can have a focus more towards comfort with packed size and weight being less of a concern.

Backpacking pads need to be light and pack small with comfort coming in behind those two.

What we use for car camping:

This mat is the real deal. We have three that we use to fill the entire tent floor. It makes the tent into a giant bed and has been great for wrestling with the kiddos. Each mat is 30” x 78” and is 4” thick. The pack size is a little big as they are a self inflating foam mat. Each mat comes with a repair kit and stuff sack which is nice. These are in top three of the best camping equipment I’ve ever purchased. We sleep so soundly on them and look forward to going to be each night we’re out. They’ve been super durable and we’ve put over 100 nights on them. Another nice option is they make a great bed for when company comes or if you want to make a large mat at home and watch a movie as a family. I couldn’t recommend these any higher.

What we use for backpacking:

When the NeoAir was released it was a game changer. How could a mat pack this small, be so light, and still be warm? It’s all those things and more. The kids use the “women’s” version which is smaller, lighter, and has a higher R-value than the regular X-light. Because they are so light and small they easily fit in the kid’s backpacks. Keri and I use the large sized mats for a little more wiggle room in the torso area. They are 2.5” thick and that is plenty to provide a comfortable night’s rest. Therm-a-Rest designed these with packed size and weight in mind, so there are some tradeoffs that had to be made. The thin reflective material does make some noise when you move around and it is a little more fragile than other pads. Some people compare the noise to wrinkling a chip bag. They are rather expensive as well. Beyond those things, this is one of the best backpacking pads out there. 

When looking at sleeping pads there are numerous things that need to looked at before making a purchase.

They are: Thickness, R-value, Weight, Size/Shape, Material/Construction, and Price.

  • Thickness in pads can vary from 1 inch to over 5 inches. Usually the thicker the mattress is the more comfortable the pad will be. If you tend to sleep on your back you can typically get away with a thinner mat. Side sleepers need a little more cushion to keep their hip off the ground. We use a car camping mat that is 4” thick and a backpacking pad that is 2.5”.
  • R-Value has to do with the insulating properties of a sleeping mat. This year a standard was set in the outdoor industry that now requires all manufacturers to test their pads in the same manner which makes it much easier to compare different models. It’s important to know what temperatures you will be camping in and buy a mat that is rated for those temps. It really sucks to have an under-insulated mat when the temperature drops below freezing. Most companies that make backpacking pads will make different versions of the same pad that will be insulated and uninsulated, so be careful when shopping. The uninsulated mat will be lighter and would be great for summer desert trips, but in the mountains it’s not always your best bet. Here’s a chart that gives a basic outline of what value is appropriate for a given season: 
  • Weight is a very important consideration for backpacking, not so much for car camping. It’s not hard to find a 3-4 season pad that easily weighs under 1 pound nowadays. The pad that our kids use weigh only 12 oz! It’s pretty crazy how light they have become. Our camp pads lie on the other end of the spectrum at 70 oz (5 lbs. 10 oz). Understand that the lightest pads will be made of more fragile material and durability goes down along with the weight. 
  • Size and shape are important in relation to how big or small a mat is when inflated and when it is packed away. The “regular” backpacking pad size has been 20” x 72”. In the past 5-10 years sizing has really expanded you can get the exact size that you need. This is great as you don’t have to carry a larger pad that can weigh more when you only need a torso pad. For backpacking our kids use a “Women’s” mat which is 66” x 20” and Keri and I use a large mat that is 25” x 76”.  Mats also come two different shapes: Mummy and Rectangular. A mummy shaped pad will taper from the torso down to the feet. A rectangular pad will carry it’s width from top to bottom. It’s also possible to get double mats which are great for couples that like to cuddle and cut down on weight. Keri and I prefer two mats 😉
  • The construction and materials of sleeping pads also varies greatly. The most basic pads are just closed cell foam. They’re cheap and can’t pop because they contain no air. Self inflating mattresses contain open cell foam that is covered with a air tight material. These are nice because they don’t require too much air when inflated, but you can fine tune the firmness. Next we have air mattresses. They pack small and when inflated can be pretty comfortable. They need a lot of air depending on the size and if they start to leak, you’ll wake up flat on the ground. As you go towards the lighter side of sleeping pads you’ll be looking at air mattresses with very thin outer material and super small pack sizes. To push the envelope on weight manufacturers have come up with amazing innovations in construction with welding seams and creating reflective materials to boost the R-value without adding bulk and weight. 
  • Price can be the #1 determining factor when buying a sleeping pad. Buy what you can afford and get out there. With that said, a good night’s sleep can pay major dividends when on an extended trip or when you’re enjoying strenuous days outside. I have been through many pads trying to save money and buying something that might be good enough. Personally this where I would not skimp and spend the money. Don’t ever pay retail though. REI, Backcountry, Campsaver, and many other companies offer deals around major holidays and 20% off coupons are usually available at these times. I personally prefer to buy used gear when I can and look on eBay, craigslist, and geartrade.com. At REI garage sales you can save a lot of money when you buy a used pad that has a leak. This is great because they are not hard to fix and you’ll learn the skills you need when leaks crop up again. 

A lot of people get turned off to camping because of sleeping like crap. I think a good pad goes a long way to changing people’s mind.

If you have a small car I would look into buying a backpacking pad because the size difference can be substantial between that and a dedicated car camping mat. That will free up more room for other gear and food. Some air mats are even available with a separate memory foam topper to increase comfort when weight is not a concern and they can be left behind when weight is. If possible head to your local outdoor store and they might have a good selection of mats that are already inflated for you to test out.

As far as brands go I’ve had good luck with Therm-a-Rest, Exped, N.E.M.O, Sea to Summit, Big Agnes, and REI. They all have extensive lineups and should be able to meet your needs.

I love all things related to camping gear, so if you have any questions or suggestions to make this article better please let me know!

– SCOTT

ENTERTAINING KIDS

ENTERTAINING KIDS

Let’s be real with it. This is the hardest, most feared, and least exciting part of an adventure. Shoot, maybe this is why you don’t go many places. You’re scared of the drive.

It doesn’t have to be that way. There are a lot of fun activities that can keep them and you entertained at the same time.

If you have babies and are scared to go on long drives, the absolute BEST thing to do is start them now. Get them used to sleeping in their car seat. Get yourself comfortable with climbing over the seat and sitting next to them and signing them nursery rhymes.

We have listed and linked all the ideas we have come up with that have worked for us in the past.  Each item is clickable and you can read more about how we used it.

TIPS FOR EXTENDING TIME:

  • KEEP NORMAL DRIVING ROUTINES:  My routine is that I never let them do anything for the first hour.  That includes ipad, movies, coloring, snacks, nothing.  I make them look out the window.  That’s like a normal drive to Grandmaws, so they can’t run through all the fun stuff and snacks at the very beginning.  
  • SET TIME GOALS. I say things like “If you can wait until 1pm I’ll give you a special toy, craft, snack, etc.”
  • SPECIAL CRAFT BOXES: I have listed a couple of these below. I do not purchase these until we are doing a 2 day- 18+ hour trip.  These are saved for REALLY special occasions and I only bring these out the 2nd day when its getting hard on them.  
  • DRIVE AT NIGHT: This is something we have done for years.  Our routine is that we leave after work around 5 or 6pm and drive until 12 or 1am.  This way the kids fall asleep around 8pm and that gives us 5 hours of free time they don’t even know about.  I realize this isn’t for everyone, but this has helped us travel far easier.
    • This is only for the USA.  We do not drive at night in any other country for safety reasons.

OUR FAVORITE ITEMS FOR LONG CAR RIDS:

Actually, the number 1 item is the iPad. If you don’t like screen time, then I would be a little leignet on car travel days. Once you get to your destination then put them away until you leave, but this is a great time to loose the screen time for a few days while traveling. However, before we had ipads we still traveled 18+ hours with crafts and entertaining them, so these crafts below are what got us through those times.

  • FUN SNACK IDEAS:
    • SNACK FISHING GAME: Get a stick or top of a fishing pole and tie a piece of yarn to the end with a clip at the end. Have the kids toss it to the front seat and see what they catch. 1 piece at a time! This makes snack time fun and last long!
    • Candy Trail Mix Necklace: When you’re planning your snacks for the adventure, plan items that have holes (pretzels, gummy rings, froot loops, cheerios, dried apples, fruits, etc.) Give them some twine or plastic lace and they can start stringing whatever they love. This is great for when you’re going somewhere with a hike!

Entertaining kids on long car rides can get hard at times. Sometimes there is nothing you can do except pull over and let them run. Let them run at a park, let them run down a dirt road off an exit, just let them run. If none of these ideas work then take 15 – 30 minutes out of the car and it will make everyones day so much better.

MEAL PLAN GUIDE

MEAL PLAN GUIDE

This Guide teaches you how to plan and organize your meals that coincide with your itinerary and weather for the region you are exploring.

HOW WE PLAN

We have created a free printable meal plan guide to make your preparation for your next adventure easier and organized.

Download our Full ADVENTURE MEAL PLAN GUIDE here:

Loader
Loading…

EAD Logo
Taking too long?

Reload Reload document

|

Open Open in new tab

Download [9.73 MB]

LET’S BREAK IT OUT & EXPLAIN

Below we explain the Meal Plan Guide in more detail and give a few more planning tips.

ORGANIZE YOUR THOUGHTS

FIRST: ASK YOURSELF

WHERE ARE YOU CAMPING?

Where you are staying will play a part in what kind of meals you are preparing. Will you be camping in a campground, staying in a hotel, or backpacking to a lake? Knowing where you will be helps to organize your thoughts on what amenities will be available, to better prepare what you want to cook. 

WHAT ADVENTURES ARE YOU GOING ON?

Keeping track of what you have tentatively planned helps create a meal that aligns with your daily adventures and timeline. Quick meals are perfect for long adventurous days and longer prep meals are better saved for low key days.

So, where are you going?

Not sure where you want to go yet? Check out our Adventure Guides to get you excited for what is out there.

FILL IN YOUR MEAL PLAN GUIDE:

Now you know what you’ll be doing each day, lets write it down.

  • WRITE IN PENCIL! Plans will forever be changing up until the last day of the trip.
  • LIST: Destination, Dates, Campgrounds, Itinerary: traveling day, adventures, scenic drive, chillin at camp, etc.
Loader
Loading…

EAD Logo
Taking too long?

Reload Reload document

|

Open Open in new tab

Download [1.68 MB]

BRAINSTORM MEALS

SECOND: BRAINSTORM MEAL IDEAS

WHAT DO YOU LIKE TO EAT? WHAT’S EASY TO COOK?
  • Create a list of meals and snacks you like for Breakfast, Lunch, Dinner, and of course some Sweet Treats.

KEEP IT SIMPLE TO KEEP IT FUN

We have created a free printable Favorite Meals Brainstorm List you can use to help list all your ideas together in one place with some practical notes included as well.

Loader
Loading…

EAD Logo
Taking too long?

Reload Reload document

|

Open Open in new tab

Download [116.30 KB]

PRACTICAL NOTE: You can camp and eat for the same amount as you would eating at home. Yes, it is possible to stay within your weekly food budget. It is super easy to overspend on a weekend camping trip and come home with a lot of food you didn’t’ eat. All too often we get excited when going on a trip and the impulse buys add up quickly.

Think about it – if you stay within your weekly food budget then your Adventure Budget just increased.

NEED HELP? Here is a list of our Go-To Meals & Snacks:

Loader
Loading…

EAD Logo
Taking too long?

Reload Reload document

|

Open Open in new tab

Download [125.70 KB]

.

LASTLY: ASSIGN & CREATE LISTS

Assign your meals & create your shopping list:

  • Grab your Meal Plan Guide that you previously filled out with your Dates, Adventures, etc.
  • Assign meals based upon what fits your itinerary best.
    • Early Morning hikes – quick breakfast.
    • Chilling at camp = dutch oven style cooking – refrigerated snacks
    • Getting back to camp late = quick easy dinner.
    • Hiking day – bars, trail mix snacks
    • Long Car ride day – fun snacks.
  • After you assign your meal – create your shopping and packing list you need for those meals.
    • Don’t list the same item twice. Go to the item previously written on your shopping list and add a x2 and so on.
  • Don’t forget to write in PENCIL.

YOU’RE FINISHED

Now get ready to move meals around!

I do not live and die by this list. I am very flexible and move things around a lot.

So be prepared to erase and move meals around on your adventure as new things will always come up and meals will need to be adjusted. As you erase and switch things around it will still keep your thoughts and meals organized and not forgotten. This is more applicable to longer trips.

NEED HELP?

EXAMPLES FROM OUR PAST ADVENTURES:

Included are 2 example Adventure Meal Plan Sheets. I have filled them out and added in my thoughts in ORANGE on how I think and plan.

ZION NATIONAL PARK MEAL PLAN GUIDE:

3 days, small group, 4 people, big hikes, warm weather, quick food.

Loader
Loading…

EAD Logo
Taking too long?

Reload Reload document

|

Open Open in new tab

Download [1.79 MB]

.

GLACIER NATIONAL PARK MEAL PLAN GUIDE:

10 days, large group, 20 people, mix of adventures, cool weather, large group meals.

Loader
Loading…

EAD Logo
Taking too long?

Reload Reload document

|

Open Open in new tab

Download [4.27 MB]

.

We hope these guides help you feel more organized and help save you money because you can SEE exactly what you need, and realize it IS enough.

If you have any additional questions Reach Out to us and we will be more than happy to help you further.

.

RECENT POSTS:
PACKING LIST

PACKING LIST

We have created a free printable packing list to make your preparation for your next adventure easier.

WHAT TO PACK FOR YOUR ADVENTURE

PACKING LIST GUIDE: COMPETE PACKAGE

Loader
Loading…

EAD Logo
Taking too long?

Reload Reload document

|

Open Open in new tab

Download [4.18 MB]

.

LET’S BREAK IT OUT & EXPLAIN

  • Below we explain the Packing List Guide in more detail and give a few more packing tips.

The Complete guide first includes:

THE ESSENTIAL CAMPING PACKING LIST

The Essential list includes Camping Gear, Kitchen Items, Clothing, Hiking, Backpacking, Activities, Entertainment, Navigation, Tech, Hygiene, Shower Kit, Personal, and Baby/Toddler needs.

Loader
Loading…

EAD Logo
Taking too long?

Reload Reload document

|

Open Open in new tab

Download [192.54 KB]

.

CREATE YOUR OWN:

Maybe you already have your own but you want it to be cute, we have created a blank packing list template as well.

Loader
Loading…

EAD Logo
Taking too long?

Reload Reload document

|

Open Open in new tab

Download [114.29 KB]

CLOTHING

PLAN YOUR CLOTHES AROUND YOUR ADVENTURE.

What should I wear? I like to first ask, what am I going to be doing? Then I take that knowledge and plan my clothes around what adventure I will be doing that day.

THE OTHER BIG QUESTION: What’s the weather going to be like?

If you are using one of our Adventure Guides from our website it will already have a full year average temperature spreadsheet so you know what to expect and plan for.

If you are not using one of outs then just Google it. Just search “What is the average temperature in __________. ” Google will tell you everything you need to know.

ORGANIZE

I actually cut up pieces of paper. On each paper I write; the day, adventure TENTATIVELY planned, and weather predicted. I then pick out my full outfit for the day and place it with the label in my packing cube.

Yes, I am crazy… maybe you’re crazy too.

  • I write the day only because it helps me organize my clothes by day in my packing cube, but I really grab my clothes by adventure and weather more.
  • I capitalized tentatively because plans can and will change at some point of the journey.
  • Weather is important because mountain region weather is all over the place. It could be sunny and hot one day and raining and cold the next.
CLOTHING ITINERARY LABELS:

I have included a label sheet that you can print and cut out and place on your full outfit when packing. No more searching through bags trying to remember what you packed and trying to decide what to wear. Just search for the label with your adventure listed and you’re good to go.

  • Full outfit includes: everything; shirt, pants, socks, underwear, etc.
    • I roll my underwear in my pants
    • Roll my shirt with my socks
    • Place them in a tight row in my packing cube.
    • Place the label on top.

If you don’t have a printer then do what I used to do. Rip up a piece of paper you find on your floor or grab a sticky note pad. Whatever works all you need is scrap paper and a pen.

If you do have a printer feel free to print these labels I have listed below.

Loader
Loading…

EAD Logo
Taking too long?

Reload Reload document

|

Open Open in new tab

Download [3.21 MB]

HAVE FUN!

.

We hope these guides help take the stress out of packing for your next adventure. However, remember it’s always worth it, once you arrive.

If you have any additional questions Reach Out to us and we will be more than happy to help you further.

RECENT POSTS:
TRAVELING OVERLAND

TRAVELING OVERLAND

We’re free to spend all our time together. We’re free to travel the world.

Where did this idea even come from?

Ever wonder… What if we went on an adventure and didn’t come home? What if we just kept exploring, and left all our responsibilities behind…. What would that feel like?

WHAT LIT THE FIRE?

We planned (for about a year) a big 10 day trip to Canada. It’s what we talked about and dreamed about for so long. The trip was better than we ever imagined! It wasn’t even Canada… It was being outdoors, disconnected, with each other for 10 days straight with out any calls from work or ANYONE. We were together. Just us. On the road. No worries.

There was only 1 problem…. Coming home. NO ONE wanted that feeling and experience to end.

That trip changed us. It lit a fire inside and we couldn’t wait to plan and do it again.

Then the question came….Scott asked “What if we quit our jobs and traveled the Pan American Highway?” I couldn’t believe it… “Quit our jobs?, yeah right! You’re crazy…there’s just no way.” However, after a week I couldn’t shake the thought. “Could we?” “Gosh… what would that be like…?” The next week I told Scott “Lets do it!” and the planning began.

WHERE TO BEGIN?

How to plan a trip through 18 countries?

How much does it even cost??

Is it safe with a family?

I searched the web for everyone who had done it or were doing it and created a spreadsheet of every cost I saw or thought we would have to pay. I then eventually added in excursion prices that gave me a high and low total of what it would cost for us to live for 2 years. We had a goal. A savings goal. We’re guessing it will take about 40k to make it happen.

We eventually figured it out, and are now free.

Free to spend all our time as a family. Free to travel the world.

JOURNAL ENTRIES

Here are some Journal Entries on how we got to this point, and how we made it happen.

RECENT POSTS:
VAN BUILD GUIDES

VAN BUILD GUIDES

A collection of building guides that showcase 2 of our old van builds.

Our Van Builds:

  1. RUSTY: 2008 Dodge / Mercedes Sprinter Van- 144 low roof, 2500 diesel
  2. EL GATO GORDO: 2008 Dodge / Mercedes Sprinter Van- 170 high roof, 2500 diesel

— If you would like to know more about each build click here.

We’ve included details and links on what we used for our builds, as well as listed our thoughts on why we chose and built each component the way we did.

We hope these guides help you build a camper van now or one day in the future.

If you have any questions feel free to reach out to us. We would love to help you in any way we can.

VAN BUILD GUIDES

VAN PURCHASES

OUR OLD VANS

RUSTY: 2008 Dodge / Mercedes Sprinter Van- 144 low roof, 2500 diesel

BEFORE & AFTER


EL GATO GORDO: 2008 Dodge / Mercedes Sprinter Van- 170 high roof, 2500 diesel

BEFORE & AFTER

RECENT POSTS:
HOMESCHOOL

HOMESCHOOL

We started this homeschool or shall we say ROADSCHOOL adventure in January of 2020.

Homeschooling was the one thing I was scared most about traveling full time. The thought gave me fear and anxiety, however it’s turned into something I love, and something that Scott and I CAN actually do.

Yes, we had our doubts and just hoped we wouldn’t ruin them, but the future is looking better each day for these 2 kiddos.

We struggle with a schedule and being consistent when adventures are all around us. The kids struggle with realize and respecting we are their teachers. However, when we do slow down and focusit’s really special and something else we’re never going to forget.

Here are a few curriculums we are using and loving.

The Good and the Beautiful

.

The Cultured Kid

.

Lokua Labs

.

MathUSee

WHERE WE ARE NOW:
RECENT POSTS