

Description
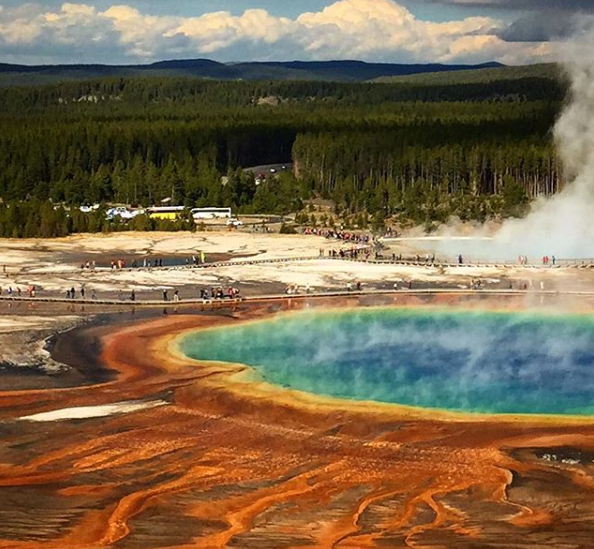
It’s one thing to walk up close and personal to this beauty to feel the wave of steam on your face, but getting up above the steam is a sight to behold.
LENGTH:
1.6 MILES – 200ft Elevation gain
TRAIL DETAILS:
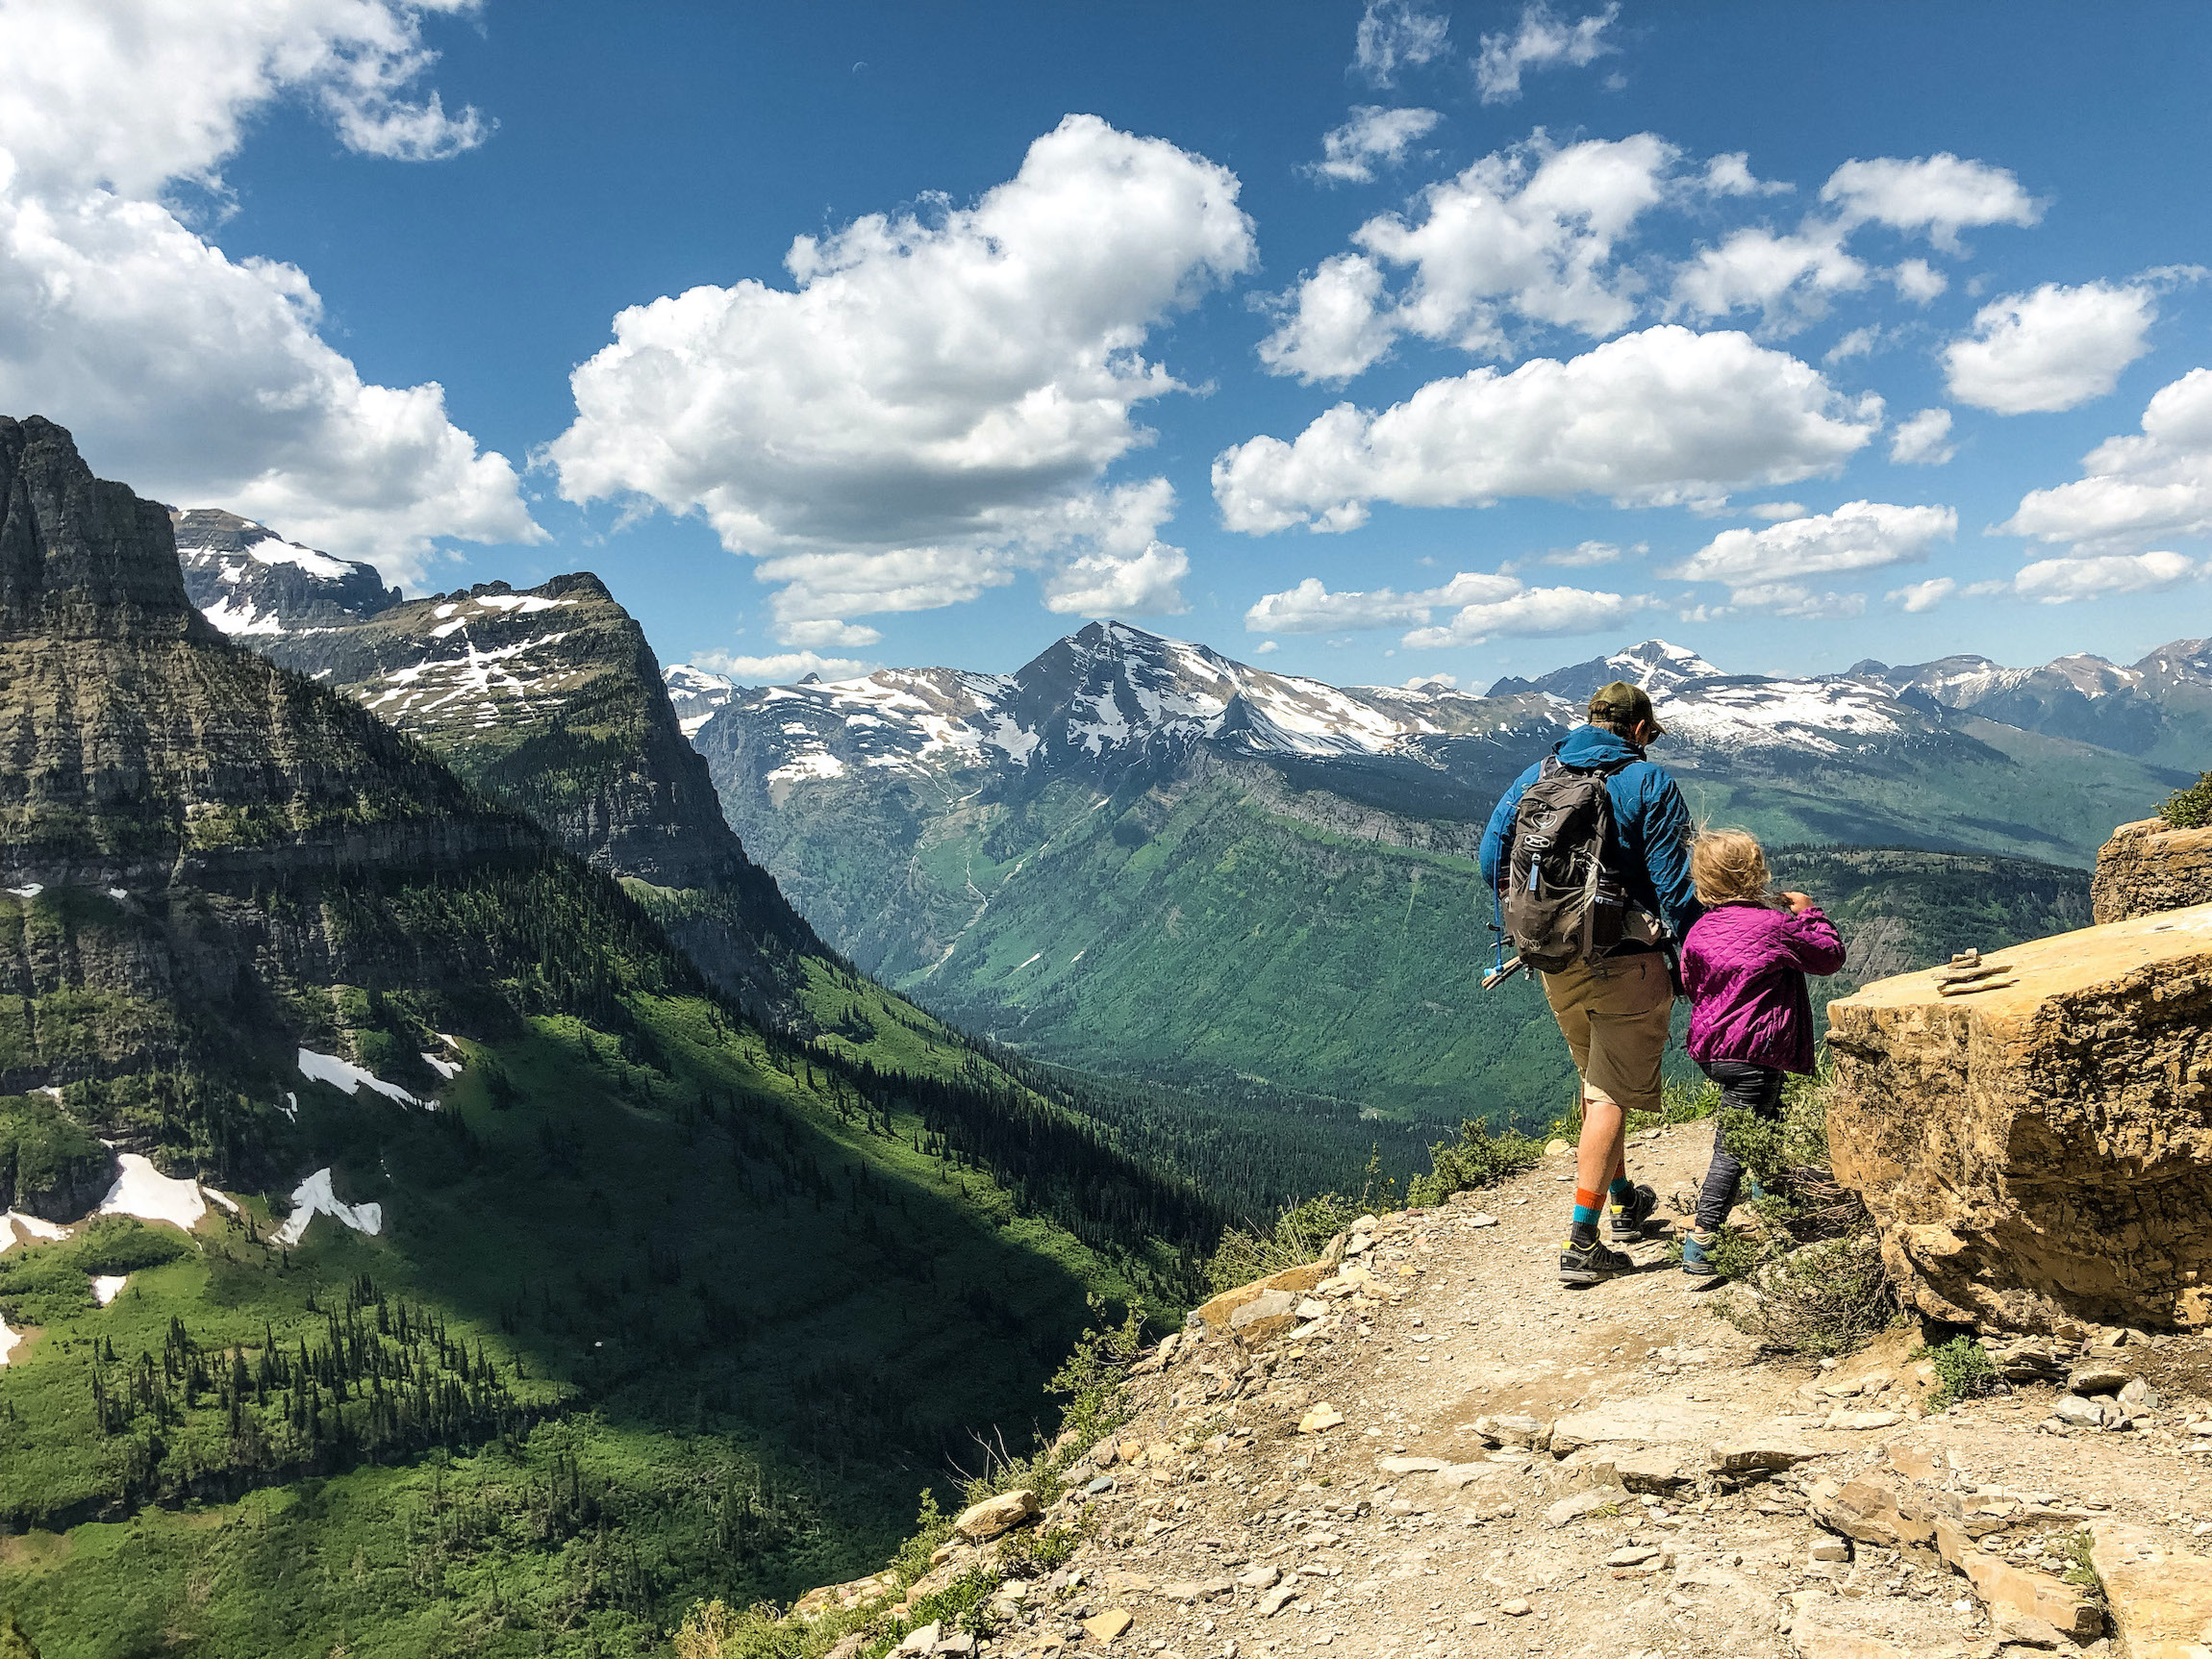
The trail begins from the Fairy Falls Trailhead. Hikers cross a bridge over the Firehole River and walk along a wide crushed-gravel trail. At the first junction, the trail swings left and gently climbs up through new lodgepole growth. Arrive at a large viewing platform. The platform is surrounded by a rail, making this a great hike for the young ones.
Take in the clear view over Grand Prismatic Spring and Excelsior Geyser. The temperature of Grand Prismatic ranges from 145 degrees to 188 degrees, with the highest temperature at the center in the clear blue waters. Just off-center, at a temperature of 165 degrees, the Synechococcus bacterium becomes predominant as noted by the greenish color. Calothrix and Phormidium are cyanobacteria that form the respective dark brown and orange bacterial mats around the outer rim of the spring.
WEATHER

COST
The entrance fee at the gate is $25.00 per vehicle. The pass is good for seven days and will get you in both Yellowstone and Grand Teton National Parks. You can buy a one-year pass for $50.00, and you can buy a National Parks pass for $80.00, which gets you into all national parks in the country
Check the official website for updated fee information.
LOCATION
You can view the spring from the boardwalk in the Midway Geyser Basin, or you can look down on the spring from the top of a small hill accessible from the Fairy Falls Trail. The traditional way to view the Grand Prismatic Spring is to walk next to it on the boardwalk. The spring is located in the Midway Geyser Basin.
DIRECTIONS
.
GPS COORDINATES
Trailhead: (44.5151736,-110.8325500)
Overlook: (44.5233163,-110.8398964)
GEAR CLOTHING WE NEEDED
.
GRAND PRISMATIC SPRINGS GALLERY


BACK TO:

ADVENTURES IN WYOMING
RECENT POSTS:
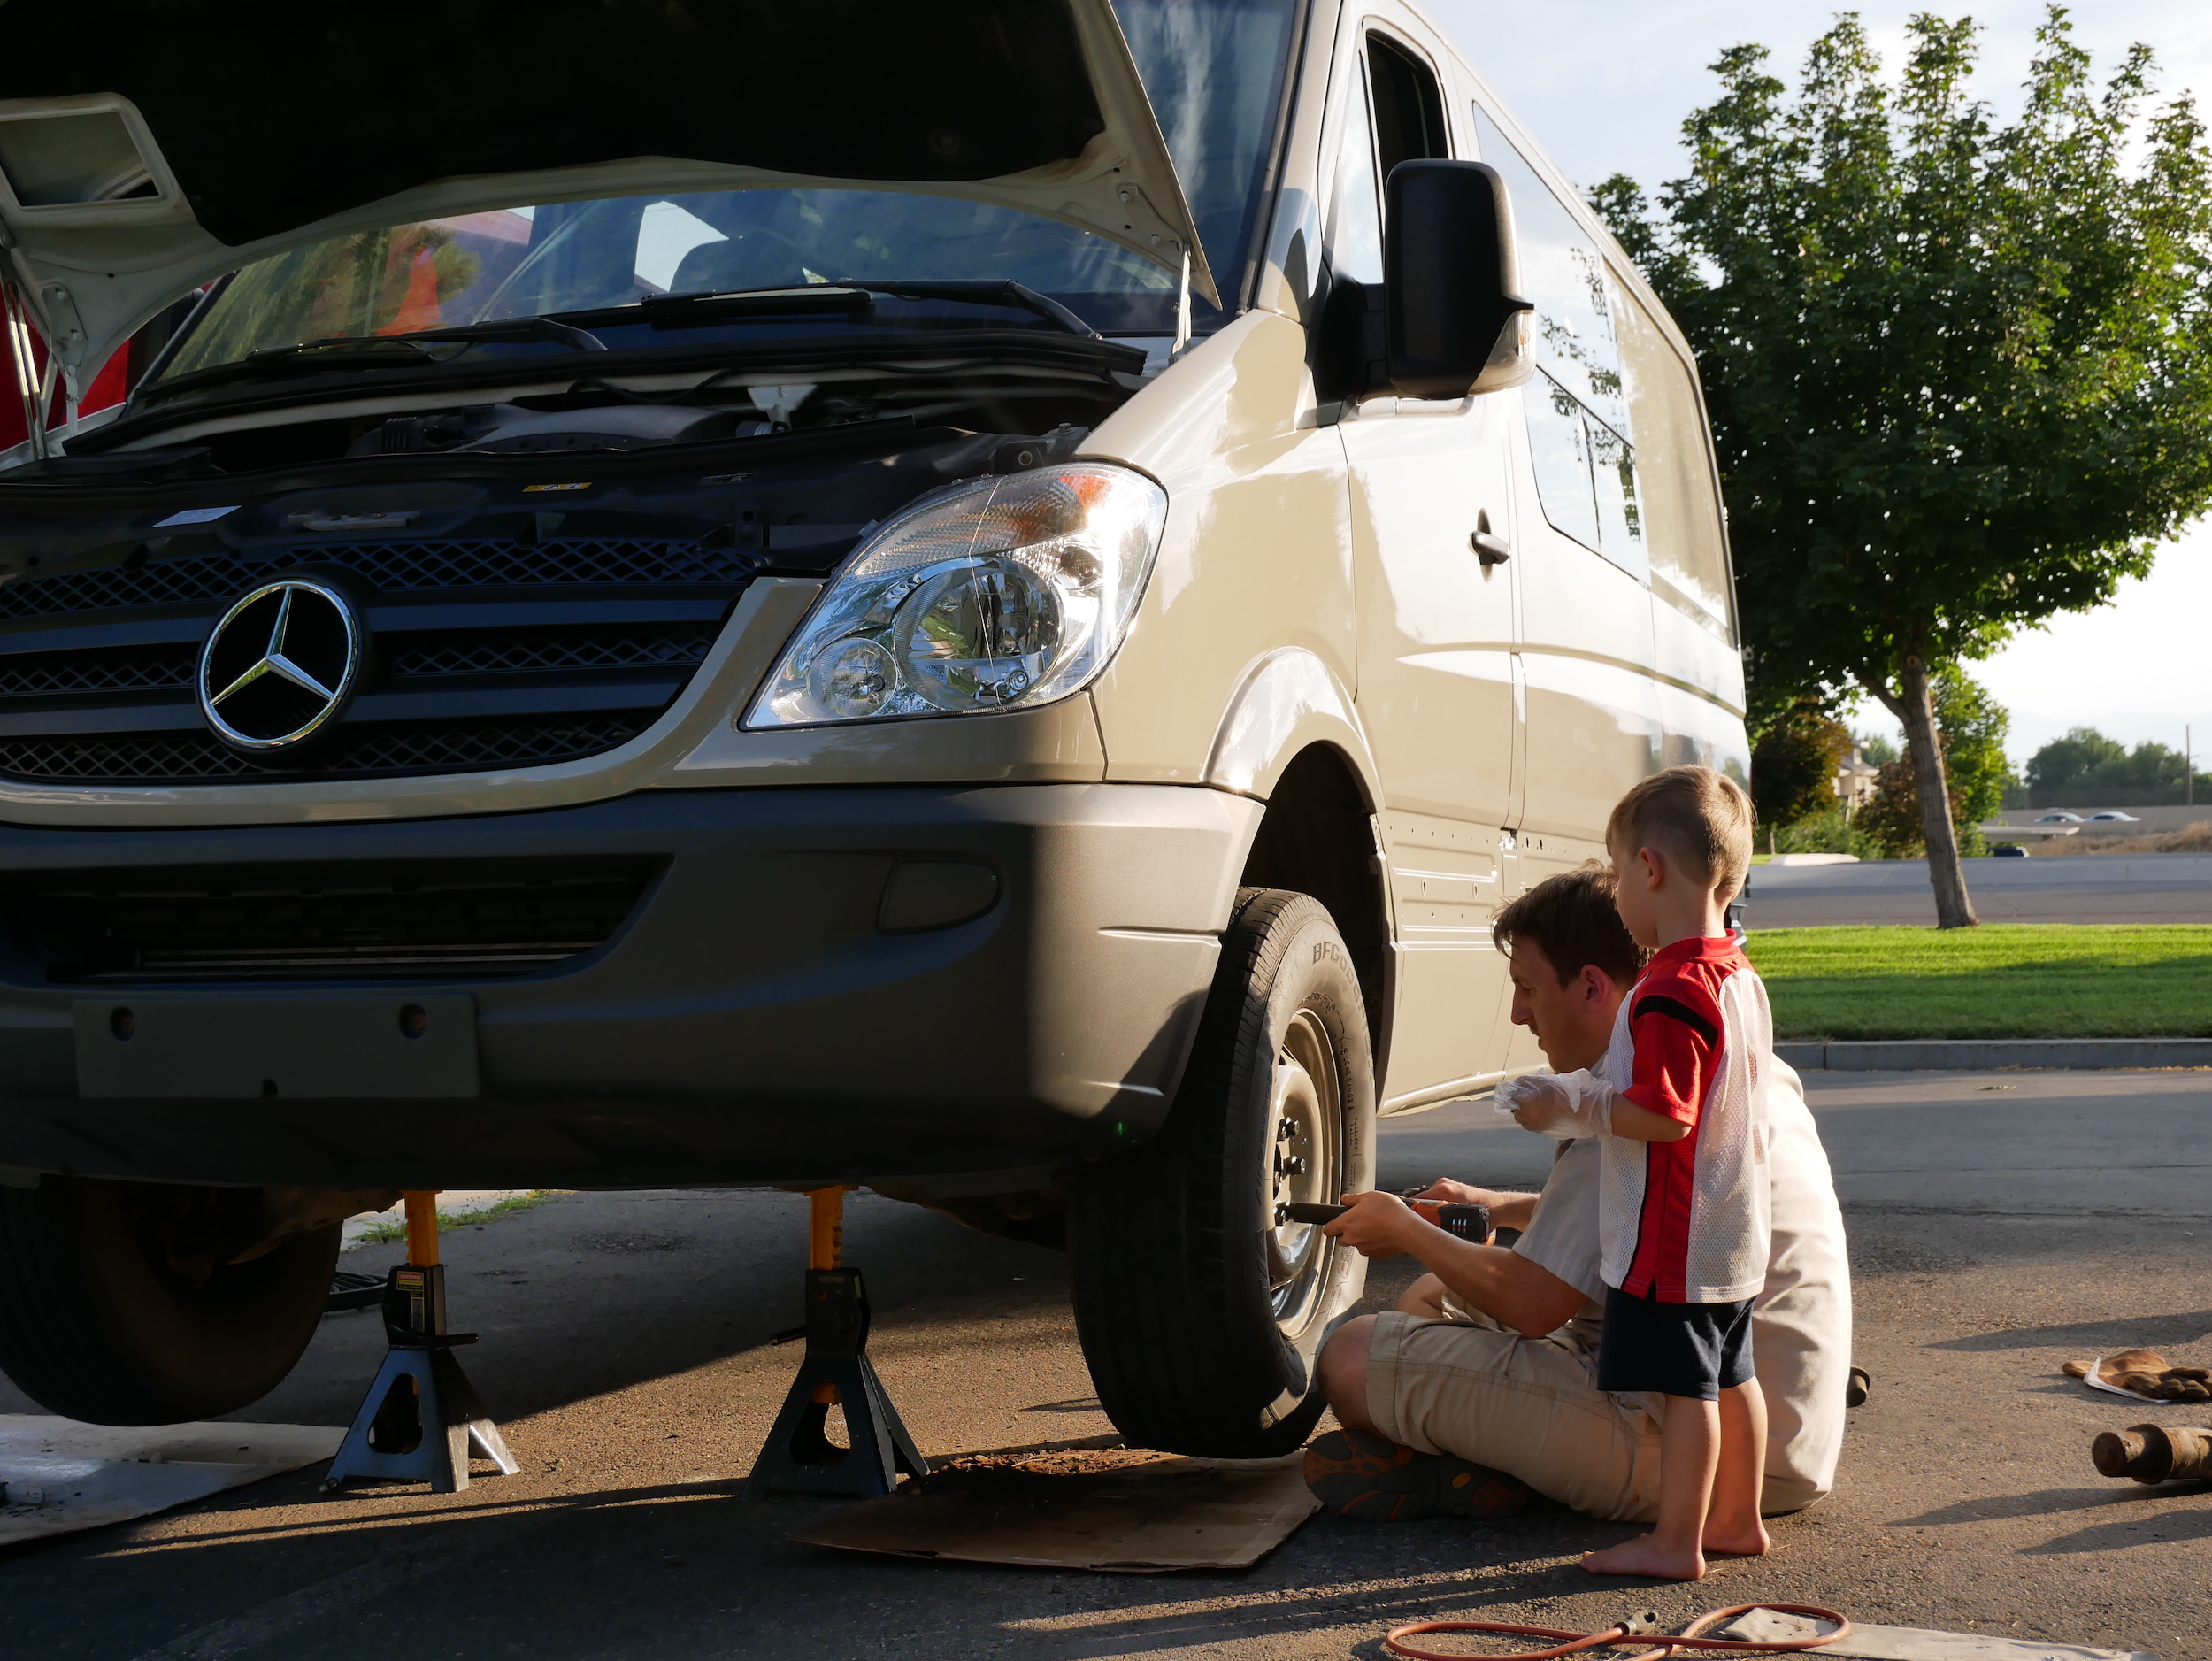
- Weekend Explorer Camper Van

- Weekend Explorer Van with SOLAR

- Weekend Explorer Upgraded Flooring

- Drop Down Kids Bed Camper Van

- Mobile Boutique Van

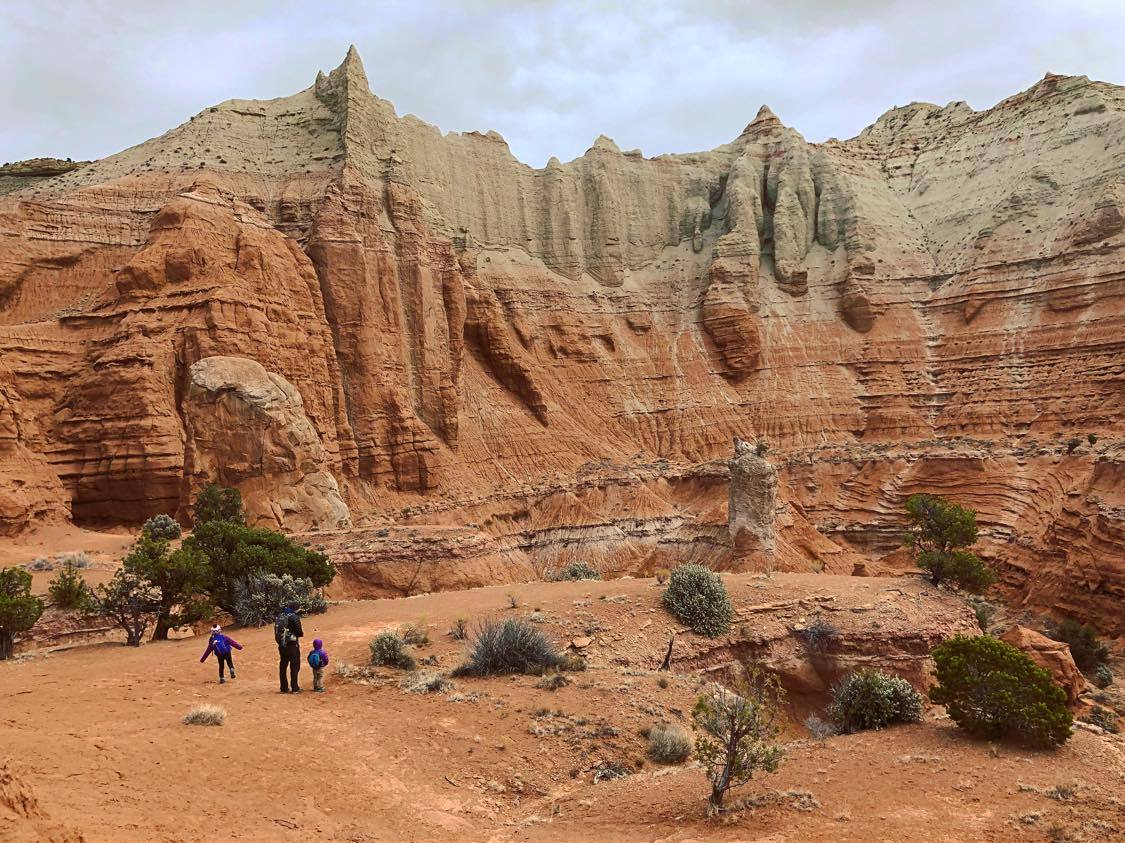
Our favorite thing about this park is that its free range – no trails. You can go and explore and play all day. It’s huge so even though the parking lot might seem busy, once everything gets spread out and you head out past the main area then you have the whole place to yourself. It’s really neat to

Coming soon…ish – We’re gathering our thoughts, notes, and videos so we can create a guide that gives you information on things we did or wished we would have done.
THE GUIDE WILL INCLUDE:
- ADVENTURES
- HIKES
- EXCURSIONS
- SCENIC DRIVES
- VIEW POINTS
- NATURE WALKS
- ETC.
- CAMPING
- CAMPGROUNDS
- WILD (Free BLM Land)
- WEATHER
- GEAR WE USED/ NEEDED
- ANIMAL AND PLANT LIFE
- AND MORE
However, no matter how much we wish we could do everything, it’s just not possible. Amazing places always leave you with wanting more. We will provide you with links to the destination’s main site. There you can add your own interest into your itinerary as well.
NEED HELP NOW:
If you can’t find what you are looking for or if you are are planning your adventure and need help NOW. Reach out to us. We would love to seed you some quick information off the top of our head to get you started.
Ways to reach out:
- DM us via Instagram: @overlandforgood
- Email us at keri@overlandforgood.com
- Through here on our REACH OUT page
You can also check out our resource pages on planning an adventure. Especially How to Find Campgrounds Around your Destination.
ADDITIONAL INFORMATION:
In the meanwhile, you can view any of our recent posts. Check out our learning posts that gives you tips and tricks as well as free printable packing list and meal plans. Double check your gear and view what we use on our gear and vehicle mods pages, or even just get to know us.
Thanks for being patient as we continue to build these guides of where we have been over the past 15 years and where we are now.
WHERE WE ARE NOW:


