

A 57 mile dirt road at the northern end of the park where enormous monoliths soar hundreds of feet high. It’s a vast adventure with a remote one of a kind beauty.
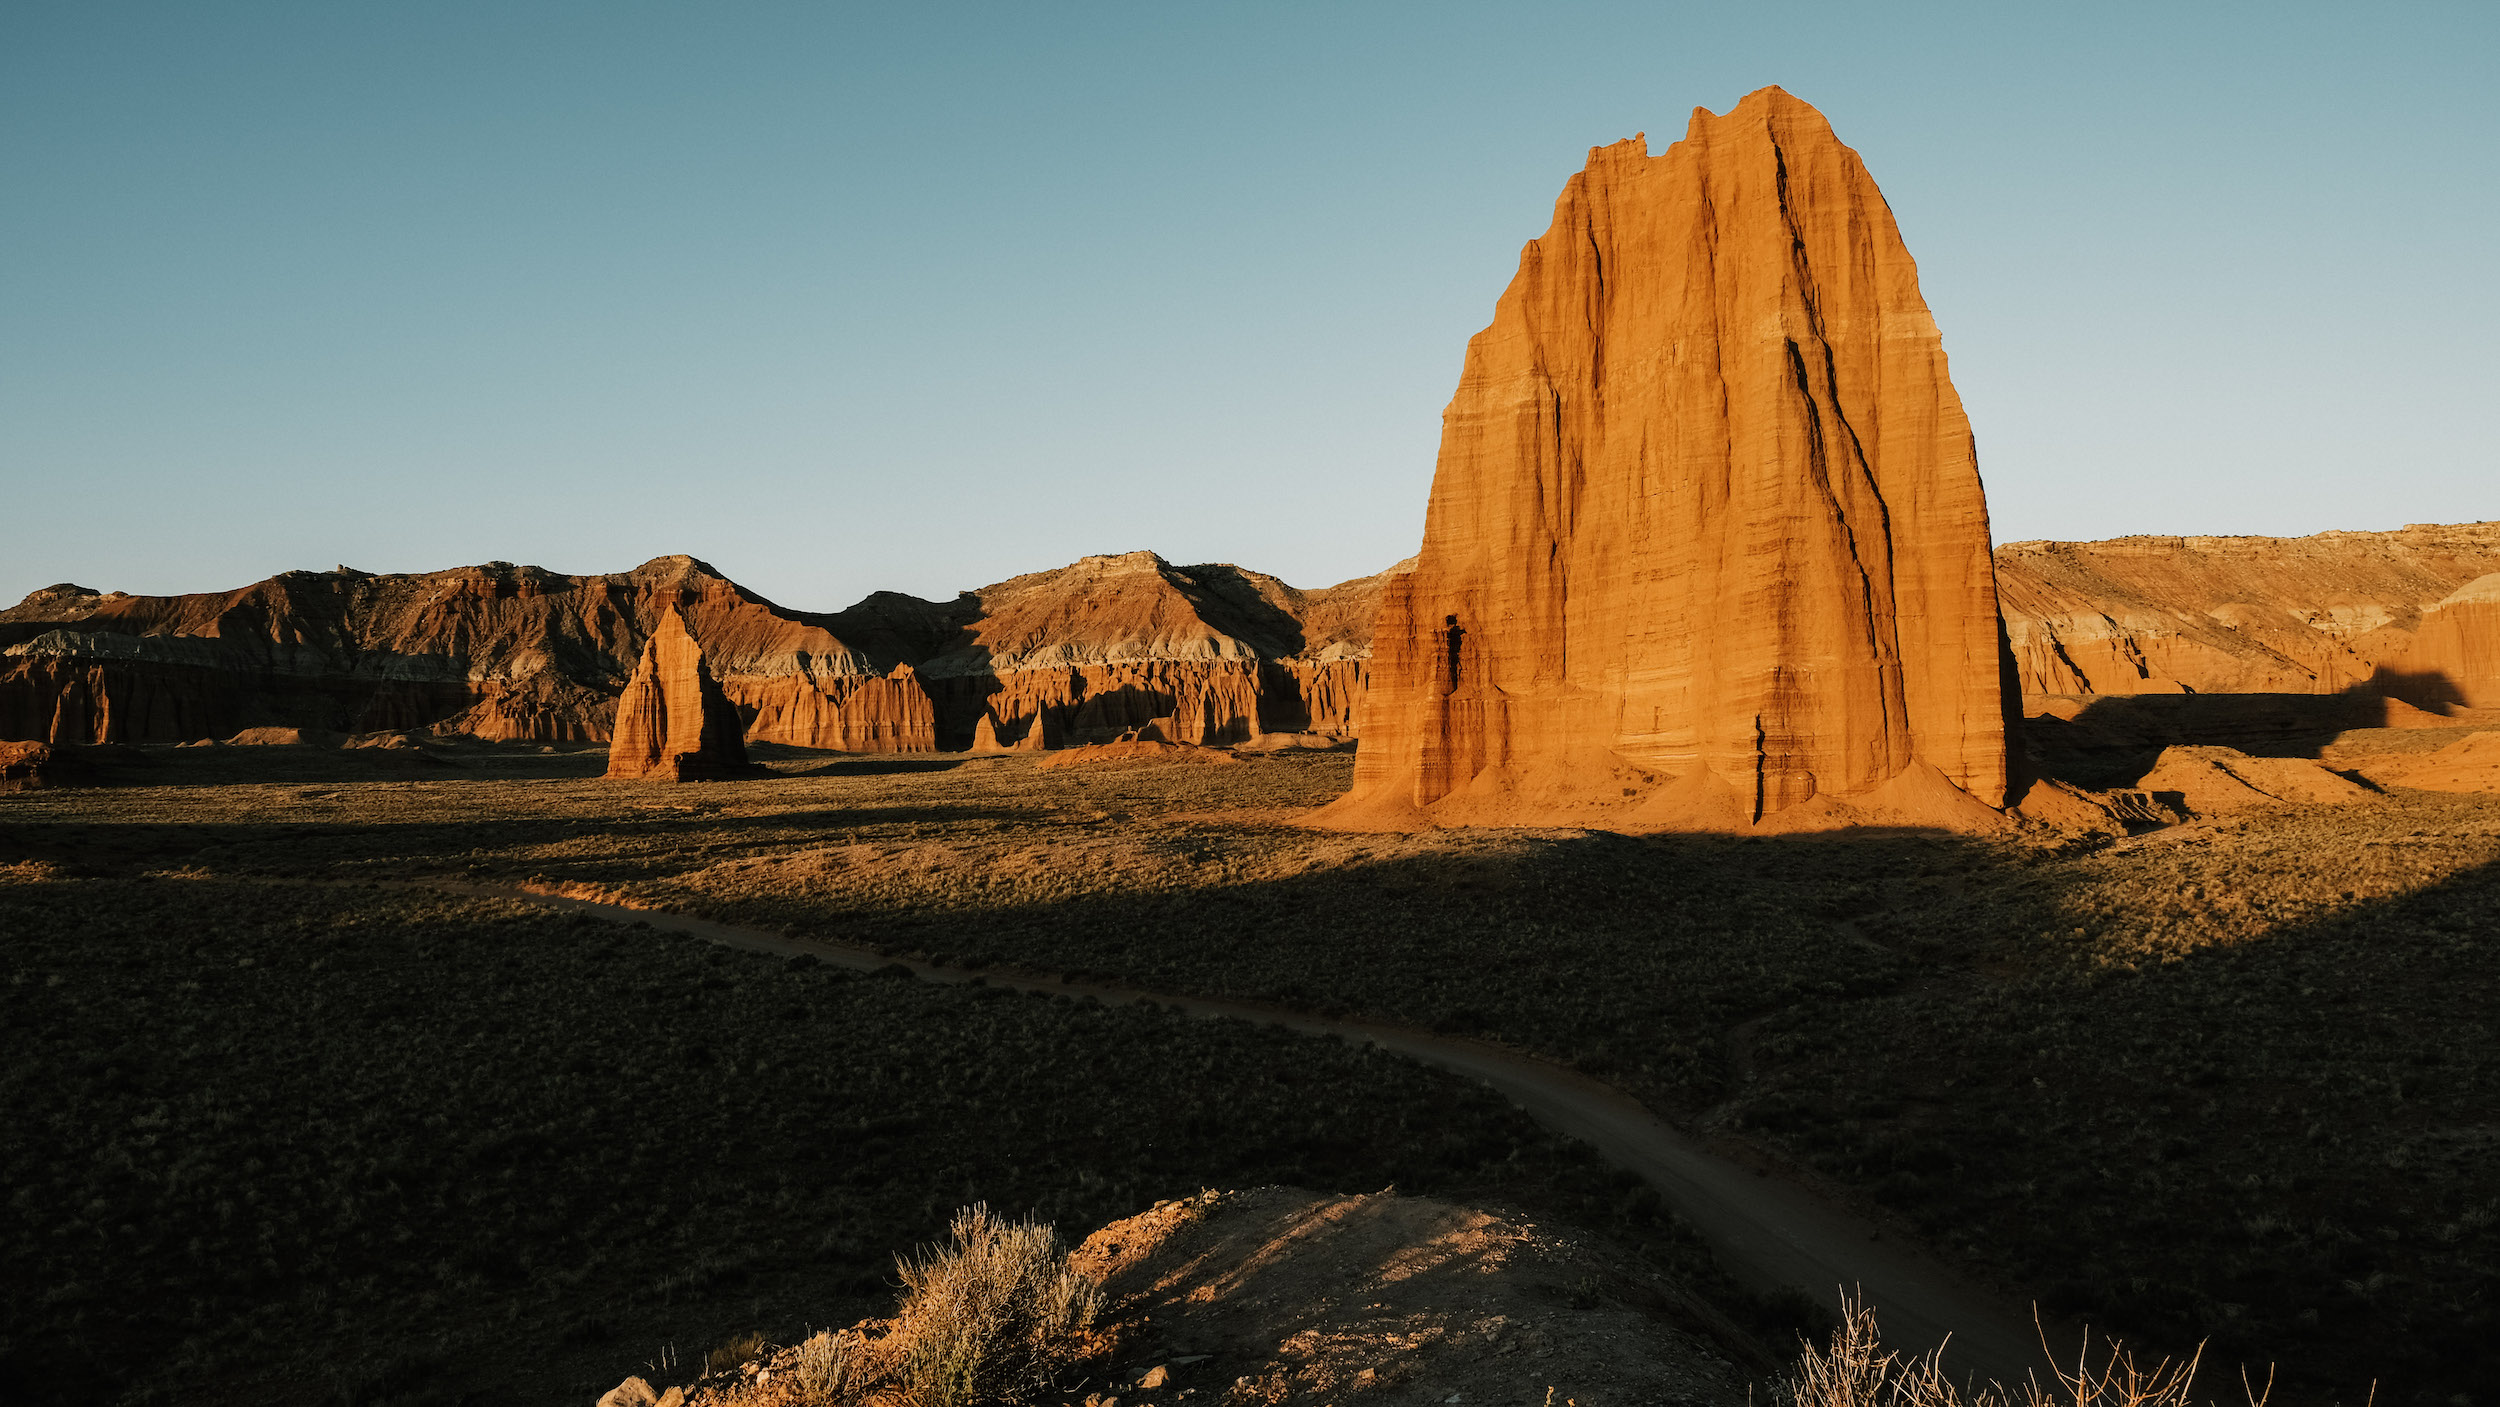
You could do this full drive in a day for sure, however that puts you seeing Temple of the Sun and Moon right in the middle of the day. The sun is bright and it gives the Monoliths a cool, but dull overall color. If you choose to wild camp… you get to view them in all their glory. They glow at sunset and and they are on fire at sunrise. If you’re not a wild camper, make an exception just this one time. Get a little uncomfortable for a night. This is a time that it will be all worth it.
They are cool to see in the middle day sun, but when they’re glowing and on fire, they’re unforgettable.
MIDDAY – SUNSET – SUNRISE


It was amazing to witness. I’ve never seen a rock formation be able to take on so many different colors in light. Even watching the sun set and rise you could constantly see the colors changing every minute. Take a look at our gallery below to view all the colors it turned. We edited with keeping its true tones. It was so beautiful.
SCENIC STOPS:
The Entrance: This might be little but this was big to us. There aren’t a lot of National Park Entrances that are a dirt road. We appreciated this and loved every minute of it.

THE OVERLOOK: Take in the vastness of what Capitol Reef really is about. This is just ONE section of Capitol Reef. There is so much more to explore. Take it in, and make plans to come back.

TEMPLE OF THE STARS: Shortly after the Campground you will descend down the steep portion of the overlook and down into some beautiful monoliths! At first we thought these were temple of the sun and moon, but turns out we were wrong. However, still beautiful to behold.

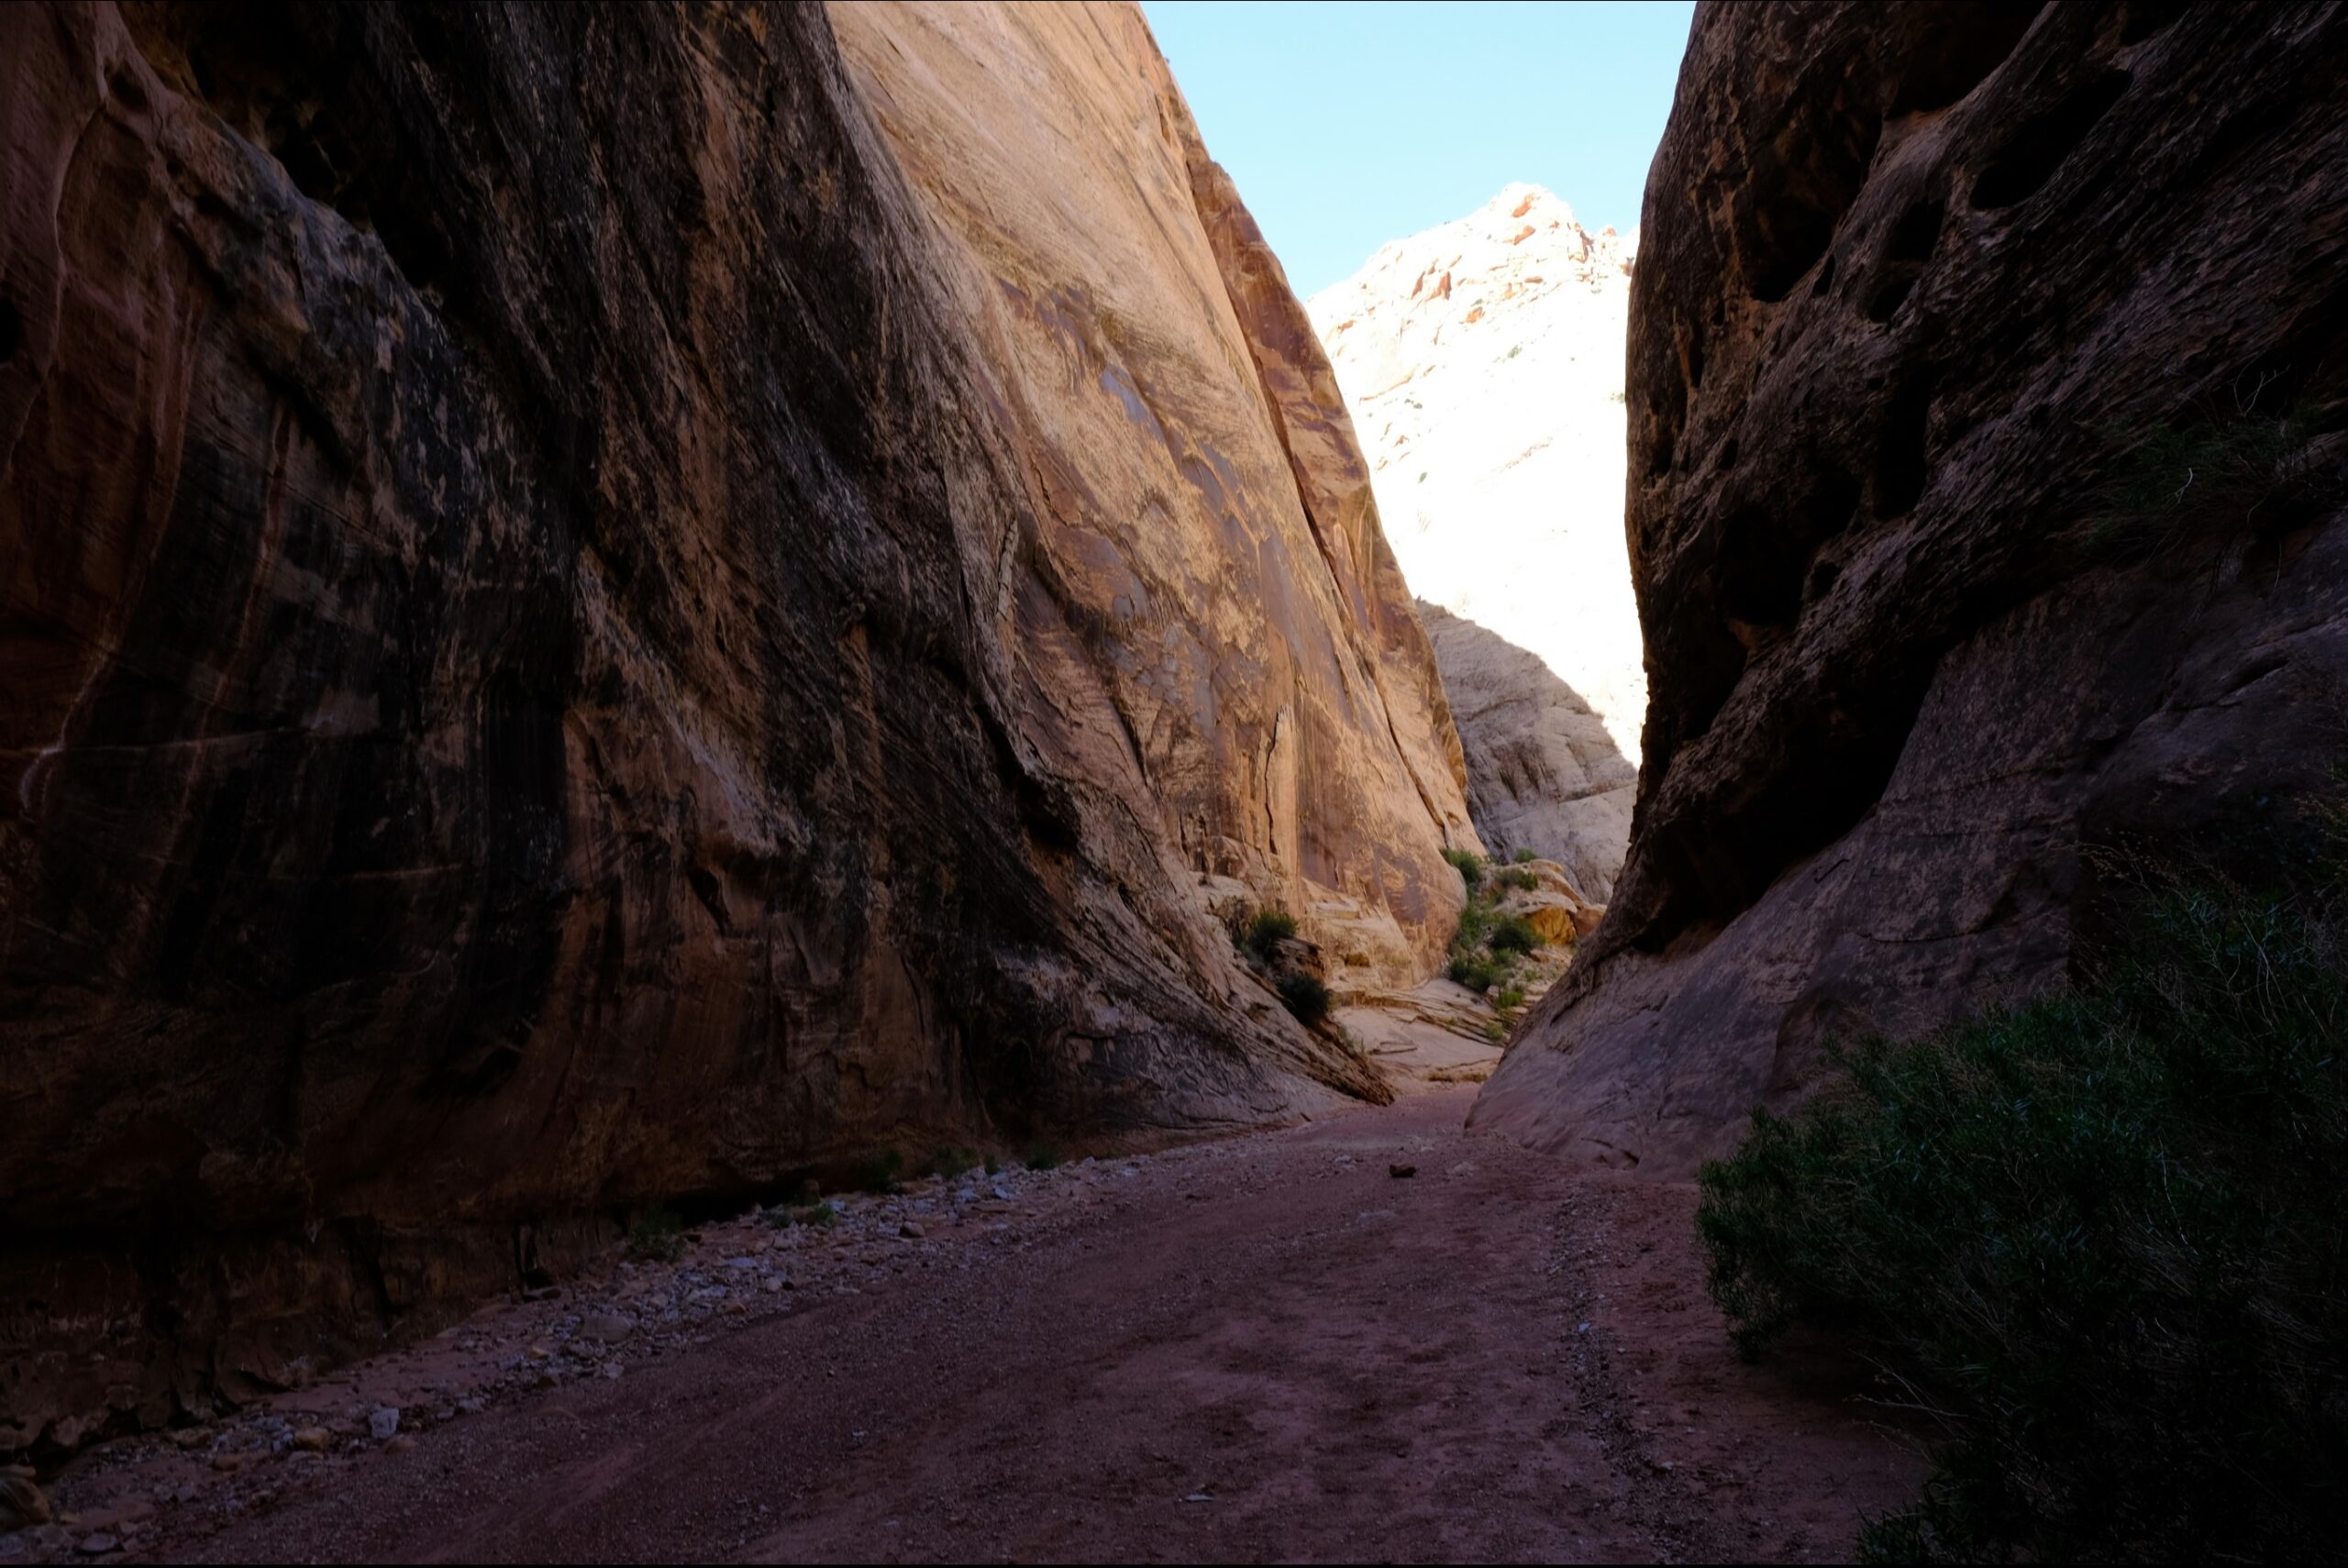
WALLS OF FINS: Take in the beauty of this beautiful drive, with its thin fluted walls.

GYPSUM SINKHOLE: This 200′ deep and almost 50′ wide sinkhole is worth a visit but hard to photograph. I tried my best.

LOWER CATHEDRAL VALLEY: A MUST DO. Why go here without seeing the best part? Again, please stay until sunset or wake up at sunrise. Worth every minute. What you’ll find there:

- TEMPLE OF THE SUN

- TEMPLE OF THE MOON

- GLASS MOUNTAIN: Glass mountain was the coolest of the 3 even though its only about 12ft high. Not really a mountain but we did climb to the top and act like it was! It was beautiful and so unique. Remember, resist the urge to take anything. You’re in a national park. Along the Road to Temple of the Sun and Moon follow the sign to the right that directions you to glass mountain. They’re all very close together.


HIKING ROUTES: There are also hikes you can do, unfortunately we didn’t do any on our visit. Take look here and it will give you more details: HIKING ROUTES
CAMPGROUNDS:
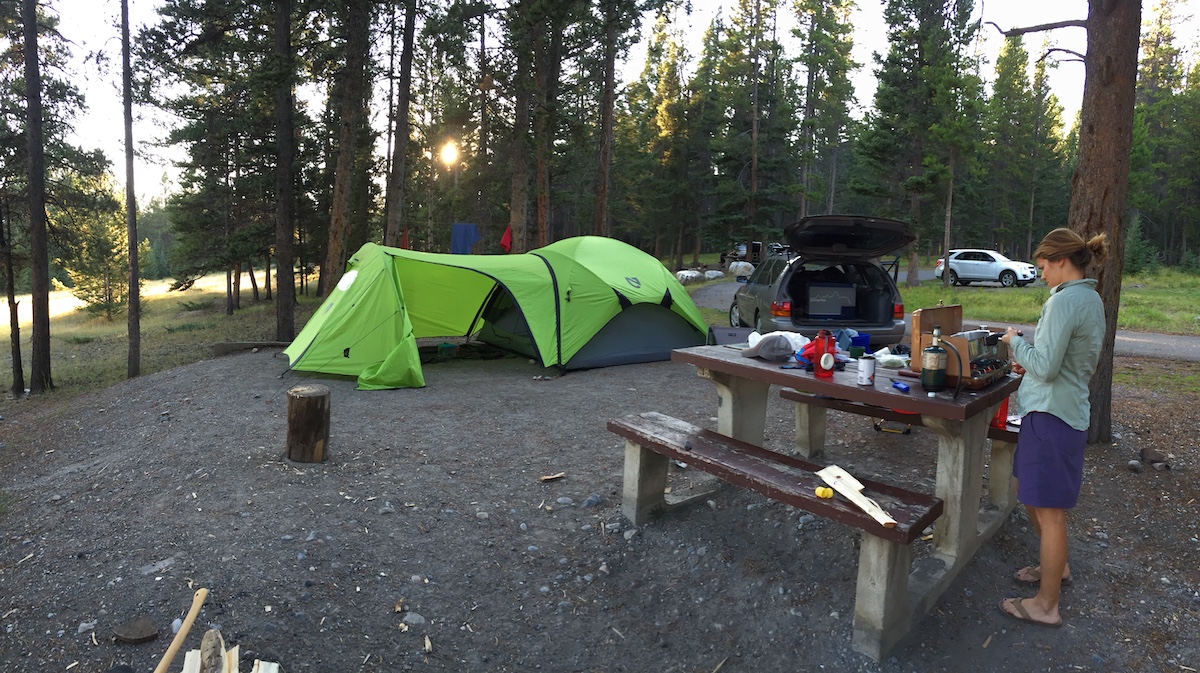
- The Cathedral Valley Campground is a primitive campground with 6 sites. We heard it is hardly ever full, so there is a good chance you can get a spot. The best part is that this campground is fee to those who are up for the adventure.

- There are around 10 pull offs along the way that you can stay at along the road if you wanted to wild camp.
- WILD CAMPGROUNDS: There are also 2 larger group wild camping stops closer to The Temple of the Sun and Moon. The closest one that we stayed at is located at 38.458, -111.180 You can see the very tip of the Temple of the Sun. We also had the place to ourselves. At sunset and sunrise. We couldn’t believe it!

LENGTH:
- 57.6 MILES OR WHENEVER YOU WANT TO TURN AROUND.
- ALLOT AROUND 6-8 HOURS
Distances from Highway 24 starting on the Hartnet Road (traveling clockwise)
- Hwy 24 junction to Lower South Desert Overlook – 15.2 miles
- Hwy 24 junction to Upper South Desert Overlook- 27.2 miles
- Hwy 24 junction to Cathedral Road Junction- 27.8 miles
- Hwy 24 junction to Cathedral Valley Campground- 28.1 miles
- Hwy 24 junction back to Hwy 24 via Cathedral Rd 57.6 miles
TRAVEL DETAILS:
This driving loop takes about 6-8 hours to complete. Most visitors to Cathedral Valley drive the 57.6 mile (92.7 km) loop clockwise, beginning on the Hartnet Road located 11.7 miles (18.8 km) east of the visitor center on Highway 24 and continuing on that for 27.8 miles (44.7 km) to Hartnet Junction. Turn right (north) onto Cathedral Road and driving 29.9 miles (48.0 km) back to Highway 24 will complete the loop.
We want to first say that you do need a high clearance vehicle if you are going when the Harnett Road River Fjord is high and you have to cross. However, you don’t have to go that way if you don’t have a high clearance vehicle. You can start on the Cathedral Road crossing near Caineville, drive to the Sun and Moon, and then just turn around the way you came. That would be totally worth it and not too long of a drive either. However, if you can, continue on there is so much more to see.
We started at Harnet Road Crossing. It was pretty simple to just follow the road signs that take you all they way down. We did use our Garmin Overlander that has GPS so that helped. I have listed the coordinates below for you.
and then just drive the same way out instead of doing the loop. We went in May and the river bed was dried up. We never got to adventure crossing it you could try that as well. You can read more tips planning and safety here.
GPS COORDINATES
- Cathedral Valley Entrance Sign: 38.469, – 111.381
- Temple of the Stars: 38.489, -111.353
- Gypsum Sink Hole: 38.499, -111.319
- Temple of the Sun, Moon, and Glass Mountain: 38.499, -111.319
You can always put GPS Coordinates into your map apps and as long as you have it loaded up before you loose service it will work!
GEAR CLOTHING WE NEEDED
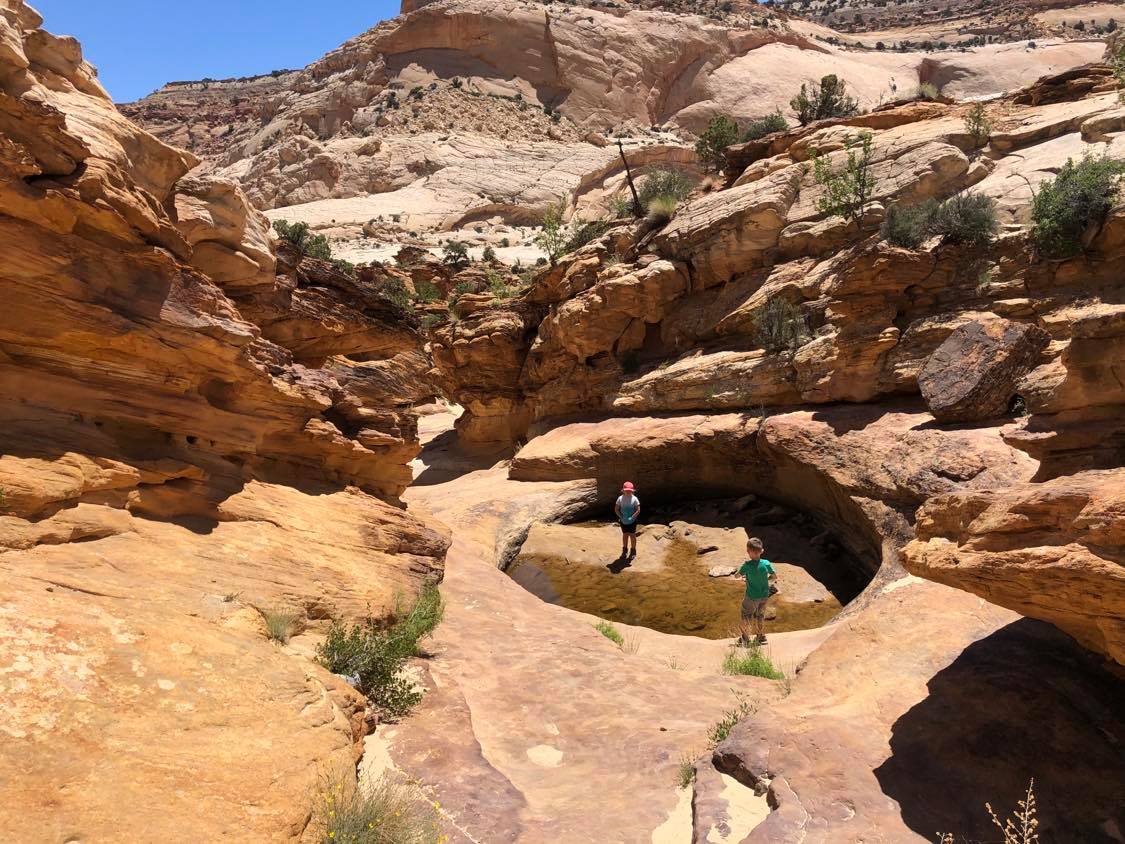
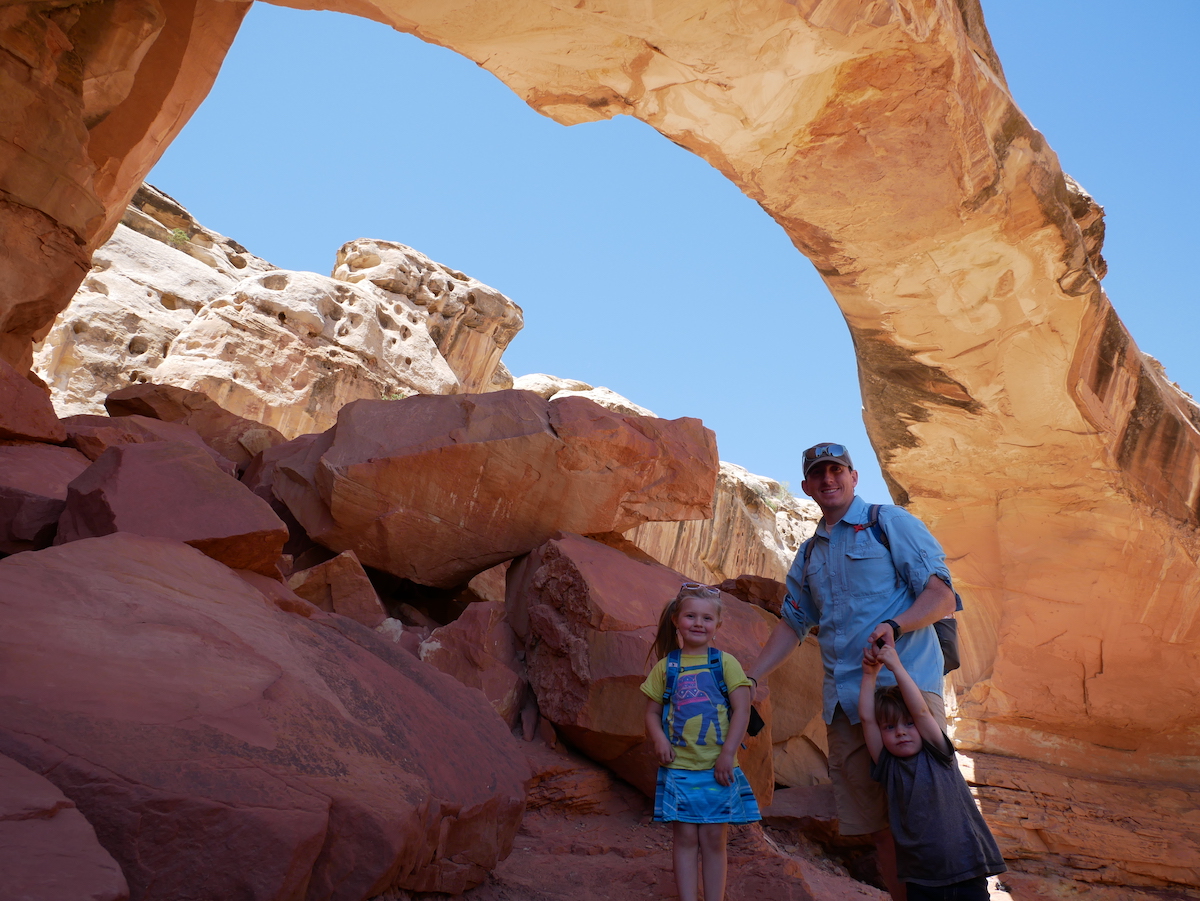
With climbing up and down on sandstone it’s best to have good grip hiking shoes or sandals. Here are our favorites.
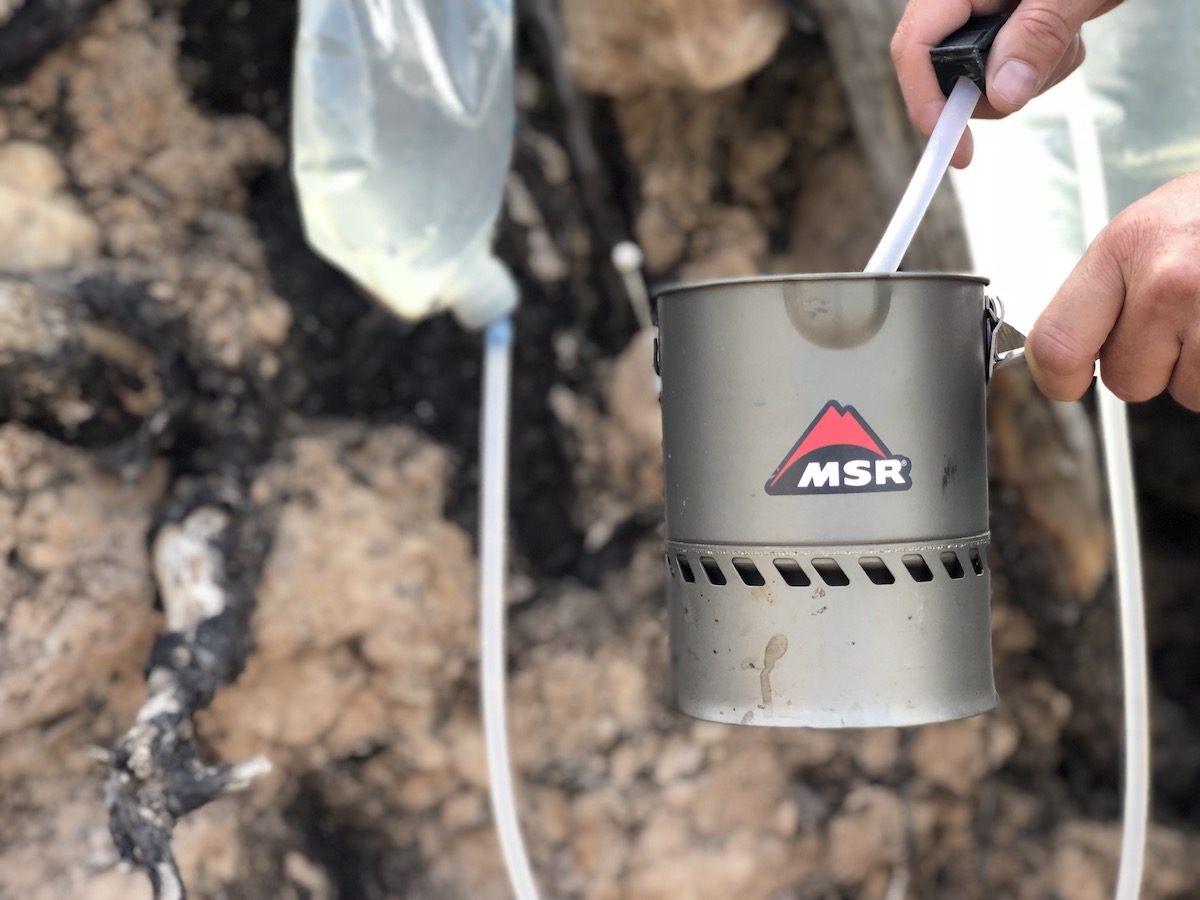
During those warm summer months just make sure to bring sun screen, a hat, and always extra water. We always like our Days packs with our hydration bladder. Here are a few of our favorites.
CATHEDRAL VALLEY GALLERY


BACK TO:

Click here to return to our Complete Guide to Capitol Reef National Park


