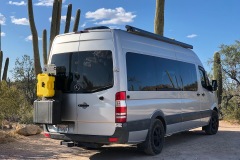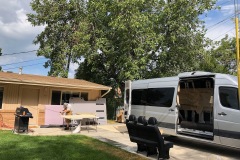


Building a van requires a lot of purchases to be made. It seemed like an amazon order or two was arriving everyday. Most of things we bought were rather mundane like drawer slides, fuse panels, insulation, etc. A couple things we bought made me really excited when they showed up . Most of these adorn the outside of the van. I’ve spent way too many hours just standing there looking at the van and imagining what this and that will look like once it’s mounted, so it’s fun to finally have everything done. Everything we’ve added to the exterior was installed because it serves a necessary function. It doesn’t hurt that it looks cool too.
ROOF RAILS:
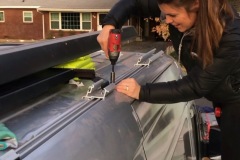
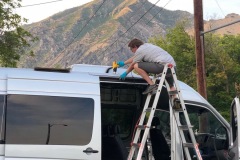
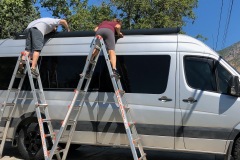
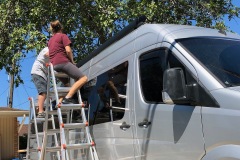
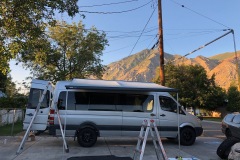
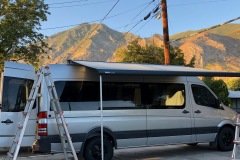
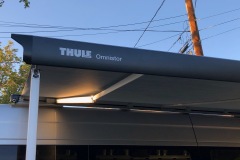
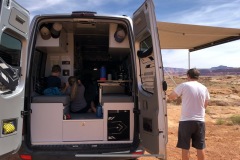
Most Sprinter vans do not come with preinstalled roof rails when you purchase a passenger van. This was the case with our van. We needed to have the rails to mount the awning and the solar panel. We ended up going with the factory Mercedes rails and they were really easy to install. Once those were up we bolted on some 80/20 bars that attached directly to our Panasonic solar panel. Next we bolted up our Thule Omnistor Awning. This bad boy is 12 feet long by eight feet when open. They have two styles of awning and we went the one that covers the factory rails when installed and sits a little more flush to the top of the van. It provides tons of shade and has been much stouter in windy conditions than I would have imagined. WE went ahead and added some strip LED lights and they provide a nice ambience at night.
BACKDOOR STORAGE
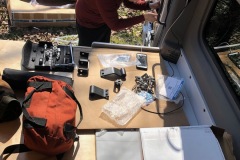
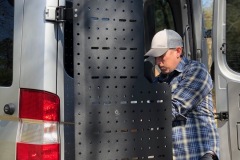
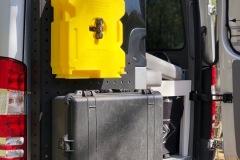
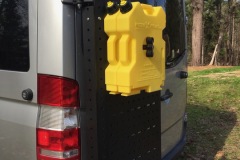
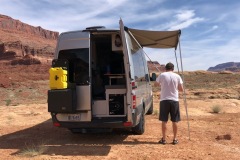
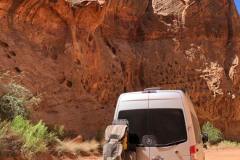
On the back of the van we needed a place to mount some extra fuel. This was an issue because I didn’t love all the options available. In an ideal world I’d have an auxiliary tank under the van, but the cost was out of my realm. Another expensive option is an Aluminess bumper. While super nice, they’re even more expensive and it’s not really the look we are going for. I knew I wanted to store the fuel in two 2 gallon Rotopax containers, but I wasn’t sure where to mount them. I had procrastinated this part of the build for too long and 4 days we were to set off for the next 2 and 1/2 years I finally bit the bullet and bought an Owl Vans Sherpa. This is something we had seen at the Overland Expo the year before, but couldn’t justify it. Now it was easy to pull the trigger as something needed to be done. This thing is awesome as it’s totally modular so you can mount anything to it. They make it fairly simple to bolt up, bike racks, ski carriers, and so much more to it. We went with the driver side rear door mount and it swings easily with the door and it still locks in place when open. I haven’t lost any rear visibility through the back window either. Right now we have out two Rotopax containers mounted over a Pelican 1600 case that will hold all of our snorkeling and beach gear when we head through Central America. Another great addition back there is our Blueridge Overland XL Tire Storage Bag. It’s meant to be mounted to a spare tire, but we used some climbing hangers and a couple BD carabiners and it’s not going anywhere. This bag is big and it easily holds two large trash bags so we can keep it out of the van until we find a dumpster. I highly recommend it.
LIGHTING
One of the main rules of vehicle based international travel is not to drive at night. It’s been hard for Keri and I to try and adapt to that here in the states because we are so used to getting off work and driving until 1 or 2 in the morning to get our weekends started. Even though we don’t plan on driving at night, circumstances will undoubtedly arise where it cannot be avoided. To aid with that we added some Baja Designs Squadron Pro LEDs up front. We chose the Driving/Combo and the amount of they light put out is impressive for their small size. They’re mounted to the underside of our hood with Van Compass mounts. That made for a super clean and simple install with only two nuts per side. Another solid Van Compass product.
AIRCOMPRESSOR
As we encounter more and more miles of dirt roads we’ll need to air our tires down to keep from rattling all of our hard work apart on the inside of the Sprinter. Under the hood of the van we had the optional auxiliary battery from the factory. With everything tied into our lithium house battery we no longer needed the additional weight, so it was passed on to a friend. I decided that the left over battery tray was the perfect spot to mount our air compressor. An air compressor is a necessity so we can air up to the proper pressure once we get back to the tarmac. We went with an ARB compressor as pretty much everything ARB makes is top quality and is known to last and last. It’s great peace of mind in conjunction with our Safety Seal Tire Plug kit.
OUTSIDE COMPONENTS GALLERY:
We listed a few details of what we did at the bottom of each picture. If you have any questions about this build feel free to reach out to us.
VAN BUILD GUIDES:
VAN PURCHASES

Van Build

Van Accessories
OUR FIRST VAN BUILD: RUSTY
Our first van, Rusty, a 144 low roof Sprinter Van.


BEFORE & AFTER

