

I just want to put it out there…I love my kids. Like, I totally love them with all my heart, but building the van would have been so much easier if it were just Keri and I. We could follow the standard formula of the elevated bed in the back with the garage underneath for plenty of gear storage, a 2 seat dinette, and the kitchen behind the driver. It’s the standard build and it seems awesome. Well, that doesn’t work for a family of 4. It took us a couple of months of searching all across the USA for a solid Sprinter, so that gave us the needed time to figure out how to cram all four of us in the van.
We had some unique parameters that we needed to accommodate:
- We needed to have a dinette in the back. We loved having a table that can seat the 4 of us easily for nightly dinners and game playing in our last van. Also, when home schooling gets in full swing we needed to have a good place to teach.
- We didn’t want to have to set up and take down 3 separate beds everyday. The dinette has to be done, but we’d rather not add to the chore list.
- We did not want anyone sleeping in the main aisle-way or on the middle seat. If someone sleeps on the floor you can no longer access the kitchen of have easy access to the front of the van if necessary. Also, the kids sit in booster seats now and who wants to clear off a seat and store the boosters somewhere else so one of the kids can sleep uncomfortably on the undulating factory bench seat.
- The plan is to live in the van for the next 2.5 years while we travel. Lillian and Case need their own space. If we could give them their own area, they’ll always have a place to retreat to at night for some alone time.
- We bought a passenger van that is all windows because we wanted to make the van seem open and invite the outside in. A lot of campsites have amazing views and it’s be a shame to miss all that when the weather is a little dicey or to not be able to take in the stars at night. A cargo van gives you metal walls and you can just build over them anywhere and anyway you want. We wanted to block the windows as little as possible, so that constrained us a little on the layout.
- Not only do we need 3 separate beds, but we also have to contend with the lost space due to leaving in 1 bench seat. These seats are large and eat up a fair amount of space.
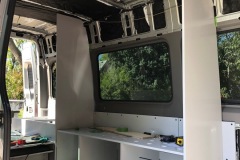
After drawing out quite a few different layouts we settled on building a set of bunkbeds on the driver’s side of the van. Keri and I had hopes of a queen size bed in the back, but once we measured everything it was clear that we would have to settle for a full in order to give the kids room to grow. The internet and instagram has been a great form of inspiration with countless pictures and stories of van builds, but we weren’t able to see a setup like this. That meant we had to just figure it out ourselves. I’m pretty proud of what we came up with and it is working great thus far.
Here’s some more details on what we did:
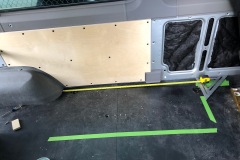
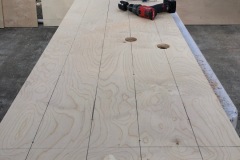
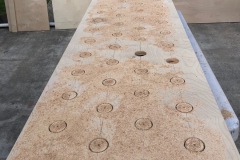
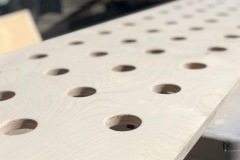
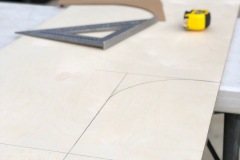
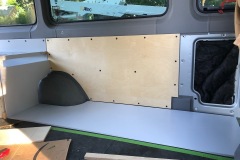
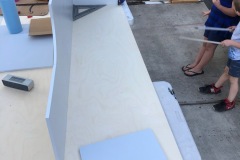
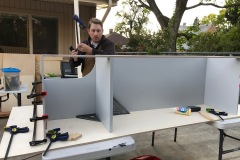
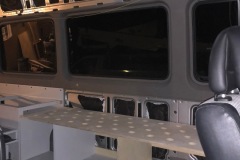
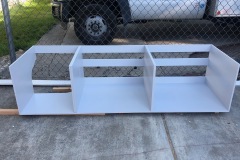
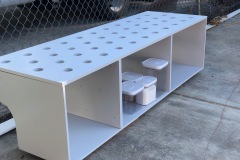
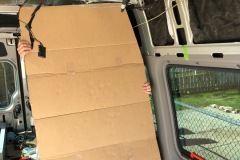
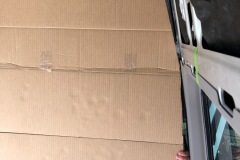
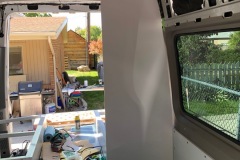
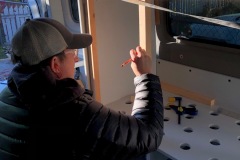
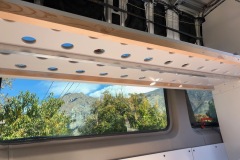
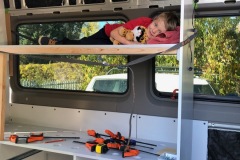
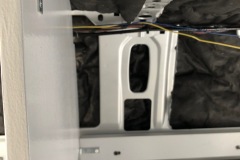
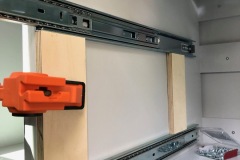
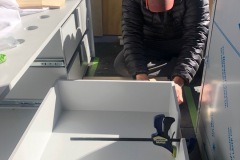
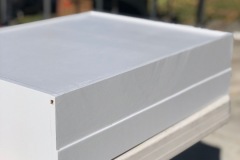
We started with a base of cabinets that are about 72” x 23” and a height of 18”. On top of that is the first bed. It has a 4” foam mattress that we cut down from Ikea. The second bed sits about 26” above that and has the same mattress. Because the walls of the van slope in towards the top, the second bunk is a little smaller in width at 20”. We figured that a backpacking sleeping pad is normally 20” wide, so that’ll work as the minimum width.
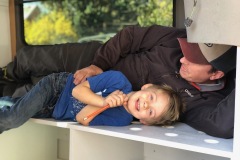
At the foot of each bunk we built in 18 inches of shelves. This has been great as they can store all their toys and stuffed animals here. We hope to keep the van for 10 years so we designed it with their growth in mind. The mattress runs the full length under their shelves and as they grow we’ll ditch the plastic storage bins that they use now and they will have a 6 foot bed. Keri and I can easily fit in the bottom bunk. I wouldn’t want to sleep there every-night, but the kids are super stoked on them.
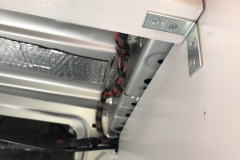
Each bunk also has 2 USB outlets to charge iPads, Cameras, and power their portable fans. For illumination we used LED strip lights that are remote controlled and change colors. I’m glad we have good window coverings or some passerby’s at night might think we’re having a full on rave in the van.
To finish it off and truly make it their own private space we added some curtains on a wire. They get the biggest kick out of saying good night and then sliding it closed quickly right in our faces. Case likes to toss and turn at night so naturally we put him in the top bunk. Makes sense right? Well, I’m happy to report we have built him some straps that act like a barricade and he’s only managed to fall out of his bed while asleep once 😉
I think the bunk beds have become my favorite thing about the van because the kids have really taken to them and are so excited to have their own space. It feels good to know that Keri and I could make their transition to van living a little easier.
SPRINTER VAN BUNK BED BUILD GALLERY:
There are 2 pages of pictures. Make sure to click the #2 at the bottom to view the complete build.
We listed a few details of what we did at the bottom of each picture. If you have any questions about this build feel free to reach out to us.
![]() CLICK 2 FOR MORE PICTURES
CLICK 2 FOR MORE PICTURES ![]()
VAN BUILD GUIDES:
VAN PURCHASES

Van Build

Van Accessories
OUR FIRST VAN BUILD: RUSTY
Our first van, Rusty, a 144 low roof Sprinter Van.


BEFORE & AFTER

