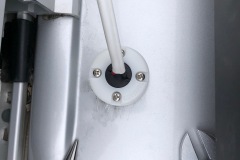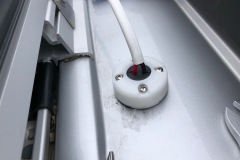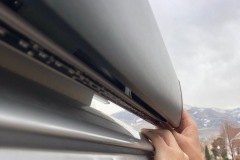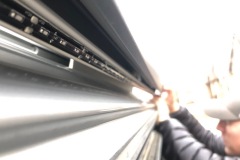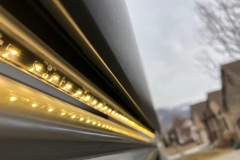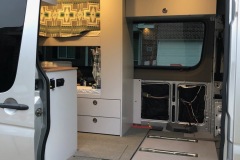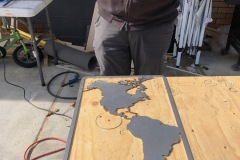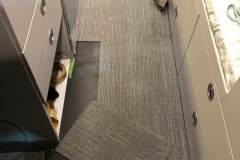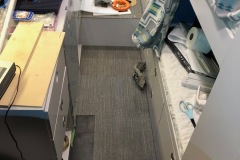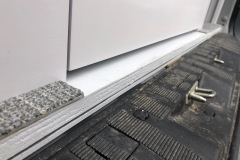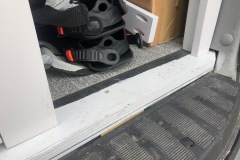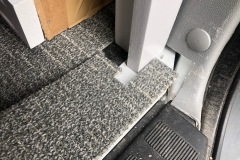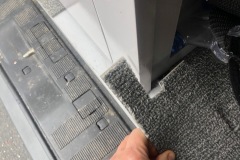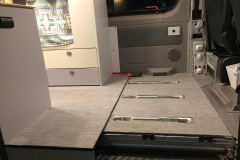


There were many components that we used to finish off the interior.
- Carpet
- Pendelton Window Coverings
- Pendelton Blanket Curtains
- South America Map
LIGHTING COMPONENTS
- LED strip lighting under all the overhead cabinents
- LED color choice strip lighting in each bunk bed.
- Lights off the back of the doors
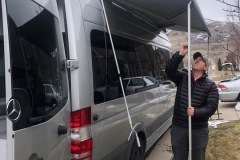
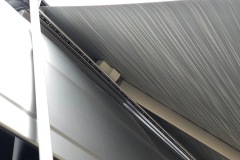
- Thule Awning Lighting
- LED puk lights in the ceiling.
- Front head lights from Baja Designs
LIGHTING & INTERIOR FINISHINGS GALLERY:
There are 2 pages of pictures. Make sure to click the #2 at the bottom to view the complete build.
We listed a few details of what we did at the bottom of each picture. If you have any questions about this build feel free to reach out to us.
VAN BUILD GUIDES:
VAN PURCHASES

Van Build

Van Accessories
OUR FIRST VAN BUILD: RUSTY
Our first van, Rusty, a 144 low roof Sprinter Van.


BEFORE & AFTER

